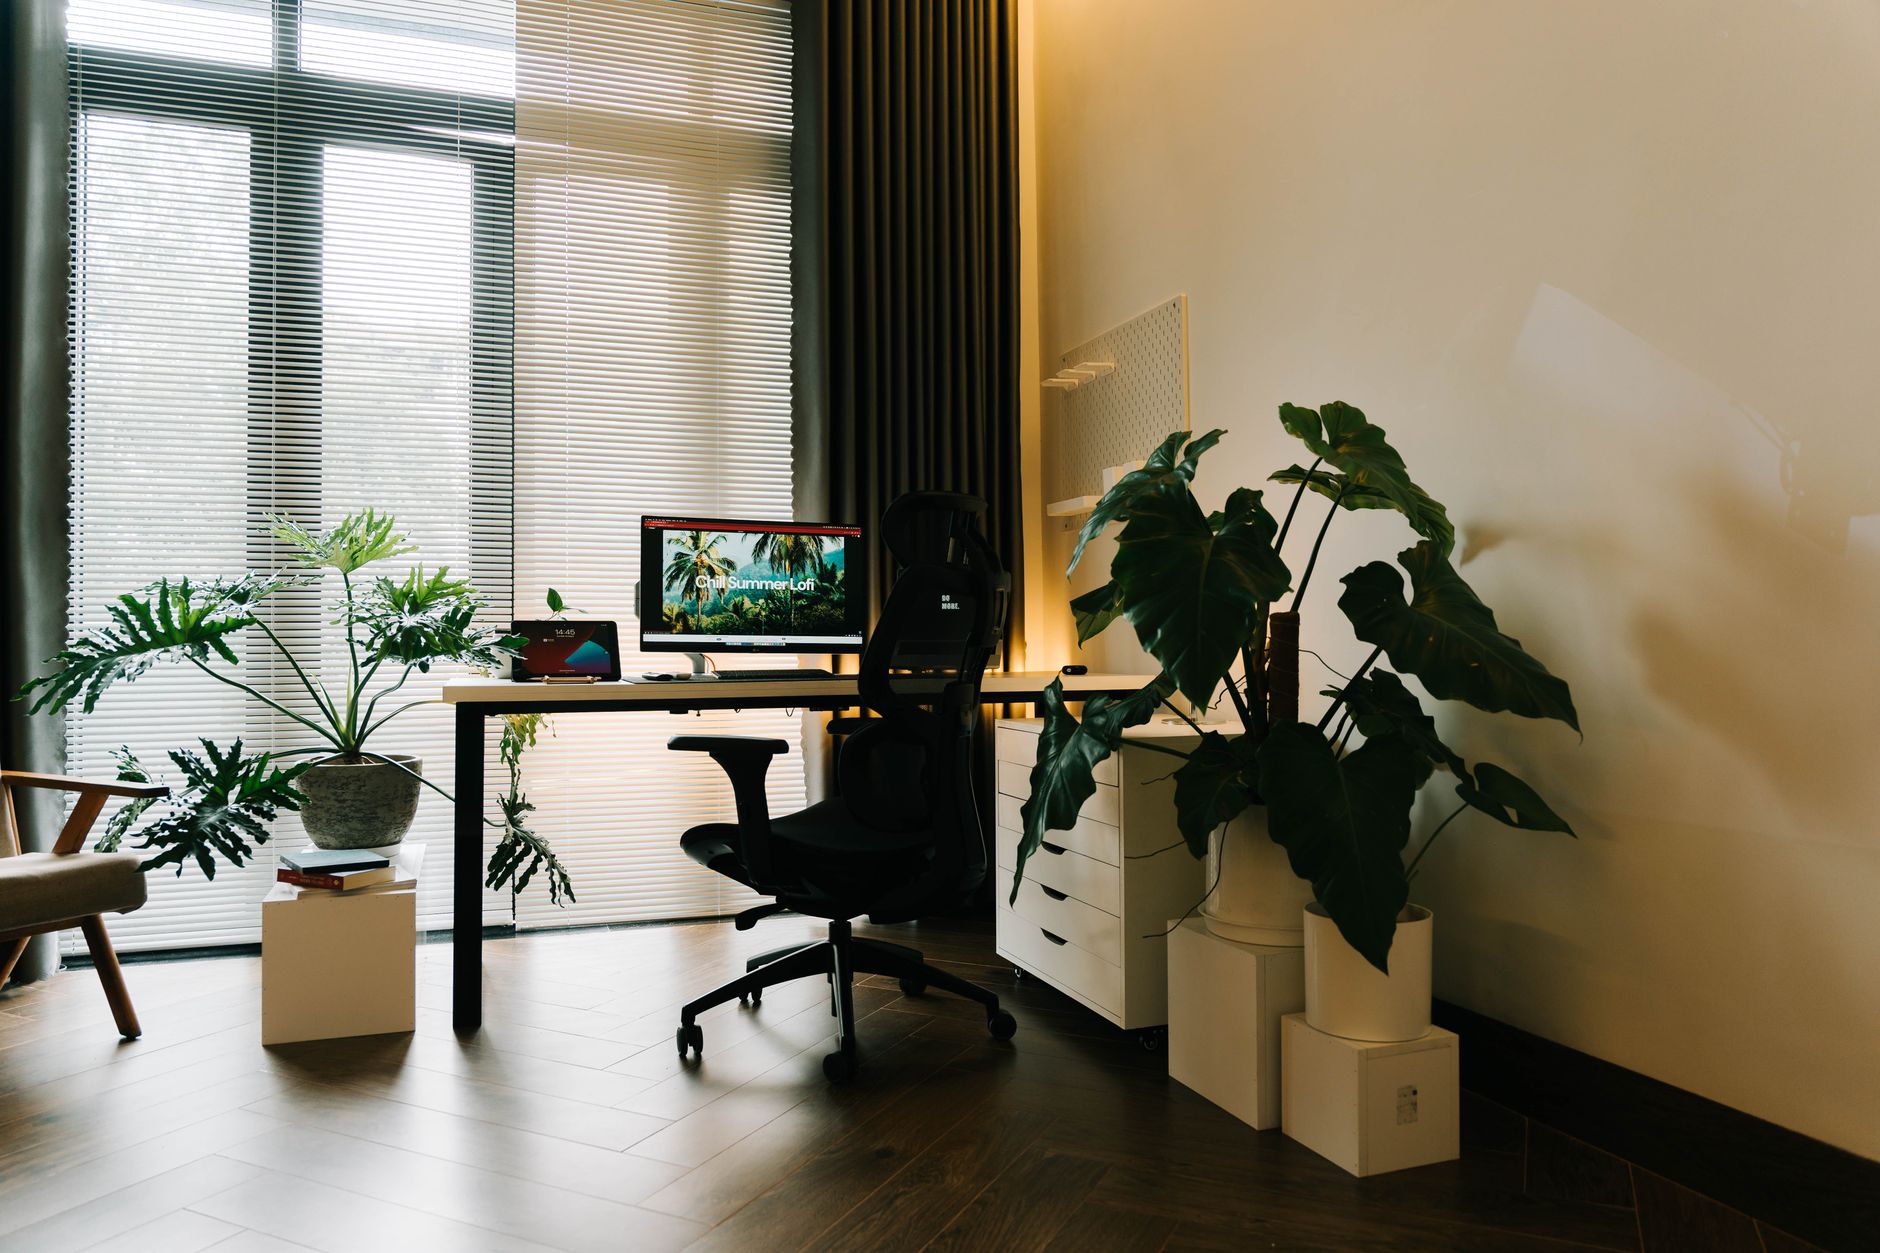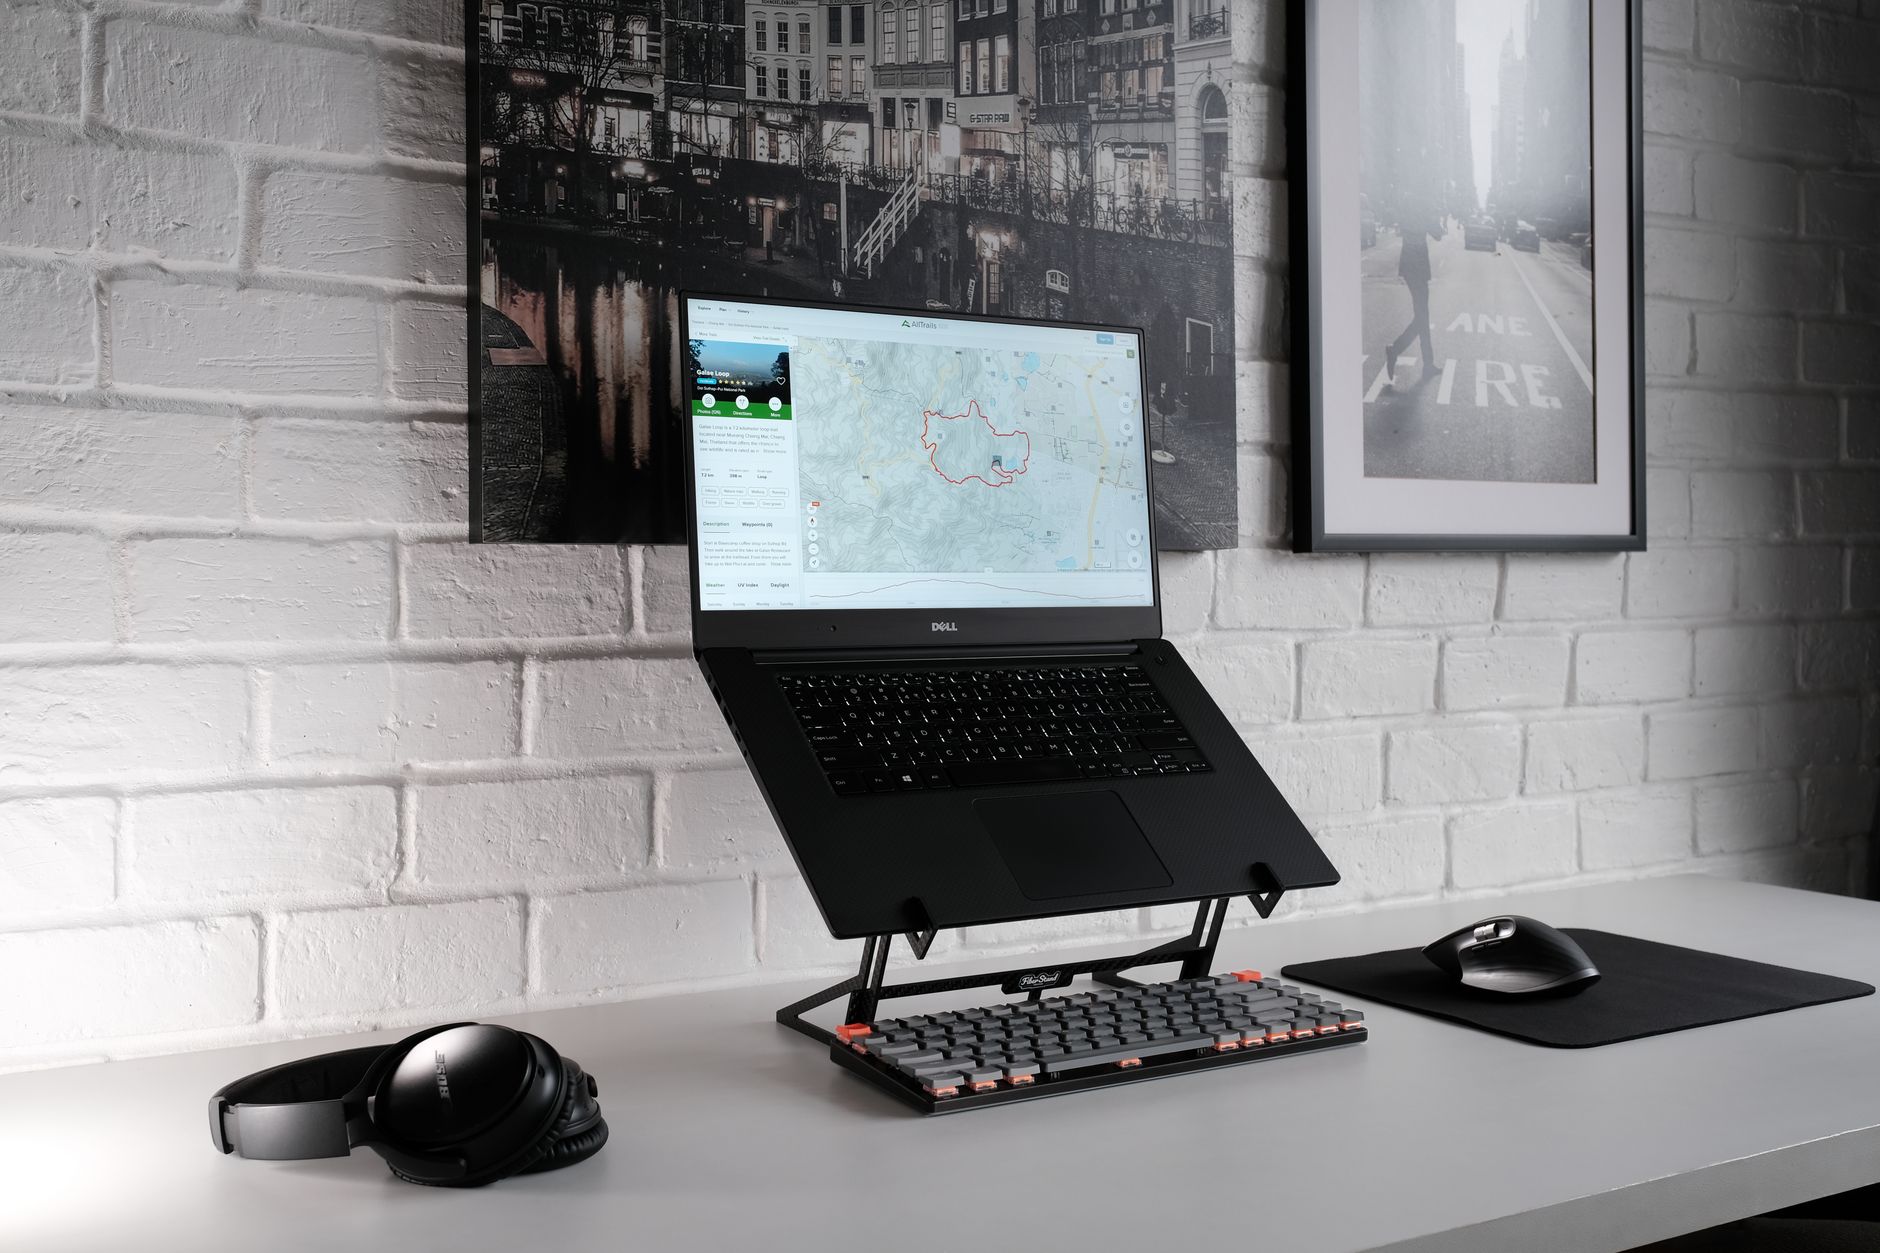
Standing desks are everywhere in home offices, but raising your desk does not automatically fix posture. In fact, a poorly adjusted standing desk can create new strain in your neck, shoulders, and lower back. The goal is not to stand all day. It is to move more and support your body in both sitting and standing. Before you press the up button, you need a clear setup process that follows ergonomic research. The Cornell University Ergonomics Web offers solid, research-based guidance for monitor distance and work height. Getting these details right matters more than the desk brand you choose.
Many desk workers transition to a sit-stand desk because of back pain from sitting. That is a smart first step. Still, the transition only works if you also adjust the desk height, monitor position, and chair for your body. If your screen is too low, you will bend your neck. If your keyboard is too high, you will shrug your shoulders. The result can be more discomfort than you had while sitting. Our guide on common home office ergonomic mistakes covers the patterns that lead to neck and back pain. Correct setup is the prevention.
This guide walks you through desk height, monitor placement, keyboard and mouse zones, standing posture, and sit-stand timing. You will also learn how to pair your standing desk with a quality chair for the seated half of your day. We include specific measurements: top of monitor at or slightly below eye level, screen 20 to 40 inches from your eyes, and alternating between sitting and standing every 30 to 60 minutes. Use a measuring tape and a few minutes of small adjustments. A properly set up desk feels neutral and calm, not like a workout.
If you have not chosen a desk yet, start with our best standing desks of 2026 list. The setup steps below apply to electric desks, manual crank desks, and standing desk converters. Once you have a solid base, the right ergonomic chair helps you maintain the seated part of your sit-stand cycle.
What You’ll Need
- measuring tape
- anti-fatigue mat
- monitor arm or sturdy riser
- supportive shoes
- timer or reminder app
How Do You Set Up a Standing Desk Correctly?
- Measure your standing elbow height first
Set the desk height so your elbows bend at roughly 90 degrees while your hands rest on the keyboard. Bend your elbows and let your upper arms hang straight down from relaxed shoulders. The desk surface or keyboard tray should sit at or slightly below that elbow crease height. If the desk is too high, you will lift your shoulders. If it is too low, you will lean forward or flex your wrists. Use a tape measure and mark the wall or a cabinet edge. This measurement is more reliable than guessing based on your height.
Different bodies need different desk heights even at the same standing height. For example, a 5 ft 6 in person and a 6 ft 2 in person have very different elbow heights. Electric standing desks make this easy because you can save digital presets. The Uplift V2 standing desk allows incremental height changes, which makes fine-tuning much easier. If you use a standing desk converter, check that the keyboard tray sits at your elbow height while your monitor is above it. A converter that does not lower the keyboard enough will force your shoulders up. You can compare options in our best standing desks of 2026 guide.
After you set the desk to elbow height, stand with your arms at your sides. Close your eyes, relax your shoulders, then open your eyes and look at your forearm angle. Your forearms should be parallel to the floor or angled slightly downward. The catch is that many people set the desk to wrist height, not elbow height. That creates tension in the upper trapezius. Recheck this every few weeks because shoes with different sole thickness can change your floor-to-elbow height by half an inch or more.

- Position your monitor to keep your neck neutral
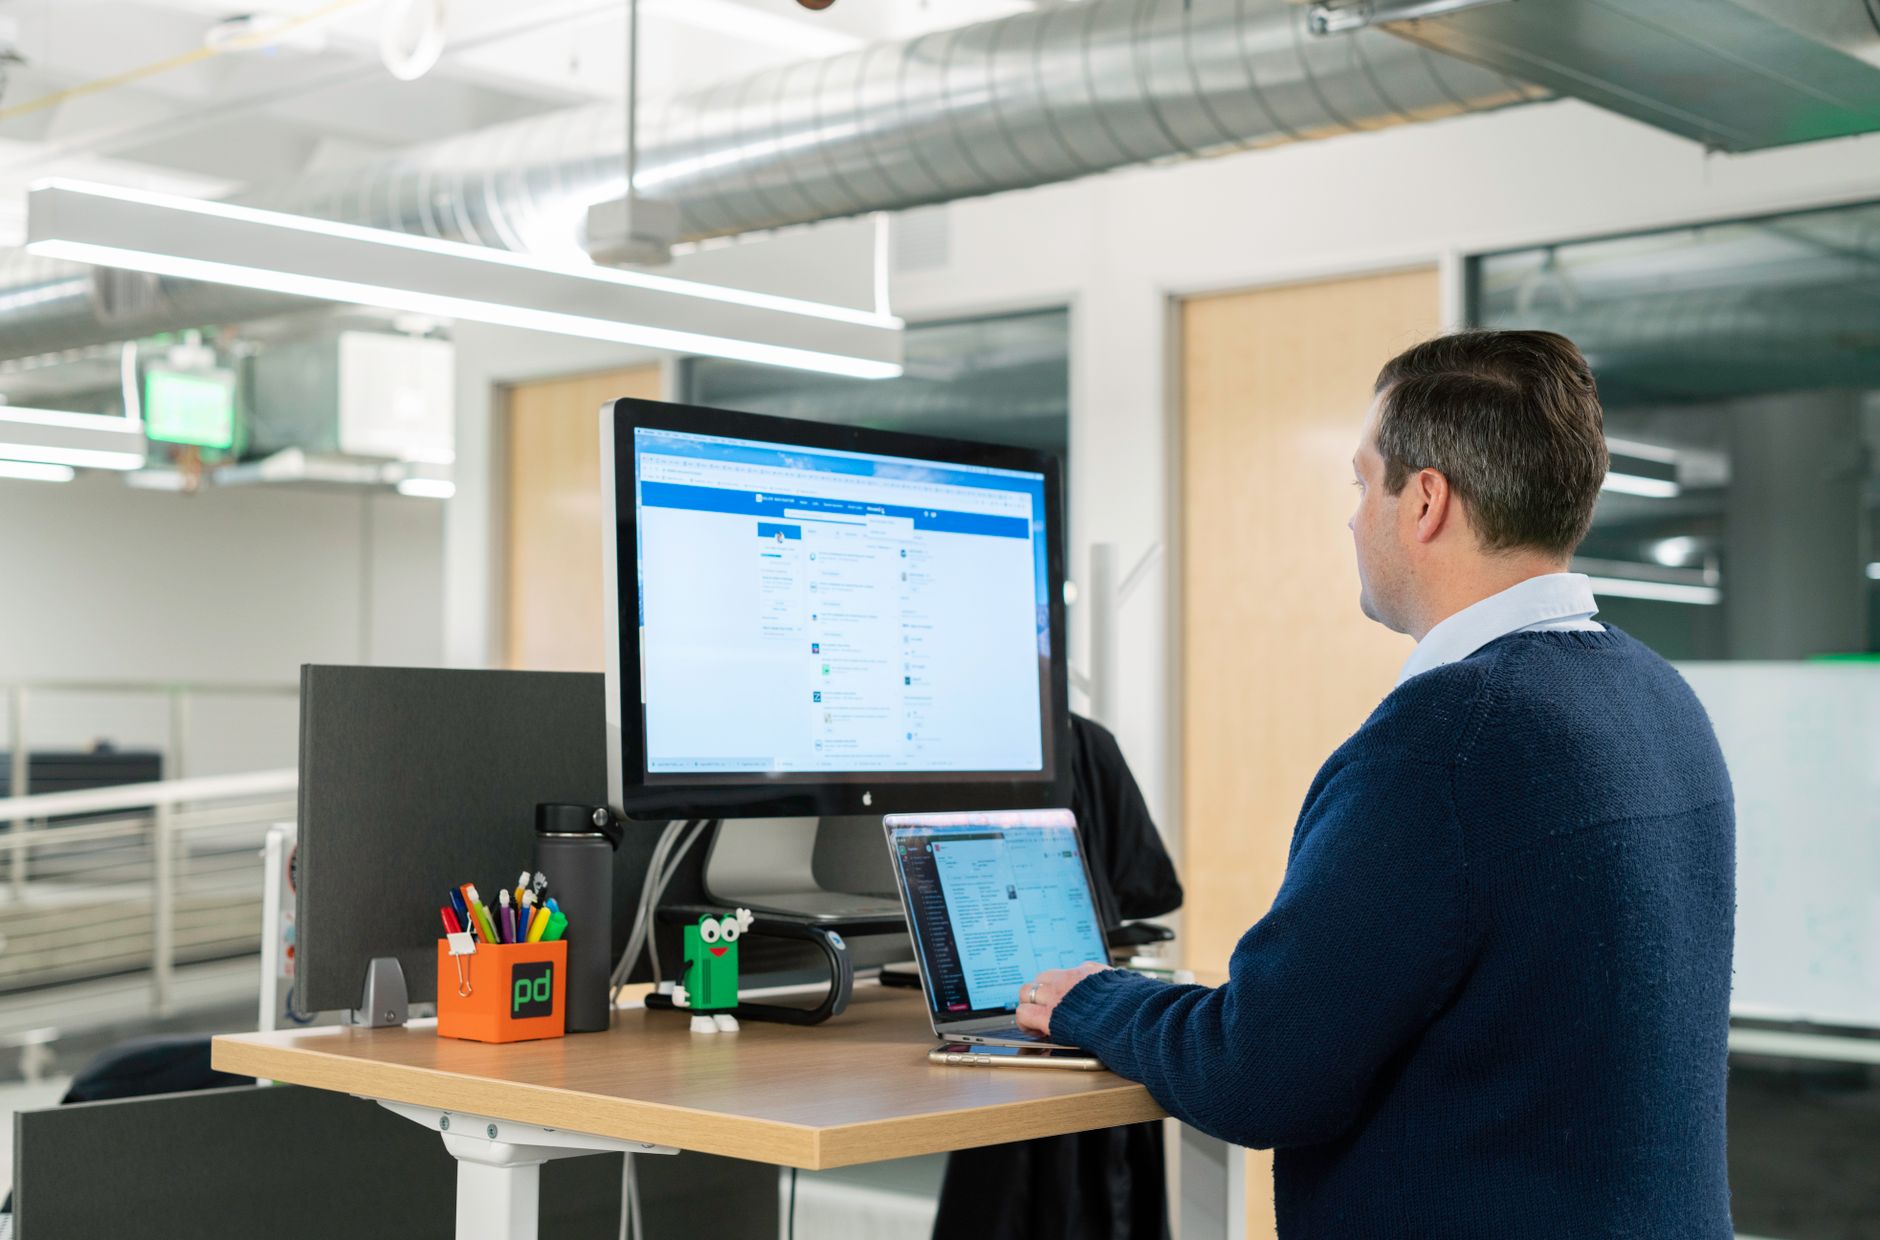
The top of your monitor screen should sit at or slightly below your eye level. When you look straight ahead, your eyes should naturally land about one-third down from the top of the screen. If you need to raise or lower your gaze more than a few degrees, your neck muscles work harder than they should. Cornell University’s ergonomics guidance recommends a viewing distance of 20 to 40 inches from your eyes. This range depends on screen size and font size. For a 24 to 27 inch monitor, 24 to 30 inches is a common comfortable distance.
Use a monitor arm or a stack of books to adjust screen height. A dedicated monitor arm gives you much finer control and frees up desk space. The Ergotron LX monitor arm is one common option that supports height, tilt, and rotation changes. If you use a laptop as a second screen, keep it on a stand rather than flat on the desk. A low laptop screen causes you to drop your neck, which is a major trigger for neck and shoulder tightness.
Check the vertical tilt of your monitor too. The screen should be tilted slightly backward, between 10 and 20 degrees from vertical. This angle reduces glare and encourages a neutral head position. If you wear bifocals or progressive lenses, you may need the monitor a little lower so you are not tilting your head back to see through the bottom of your lenses. OSHA Ergonomics emphasizes that monitor height is not one-size-fits-all. Adjust based on what allows your eyes to look slightly downward without bending your neck. For more on dual screens, see best ergonomic setup for dual monitors.
- Set your keyboard and mouse for flat, supported wrists
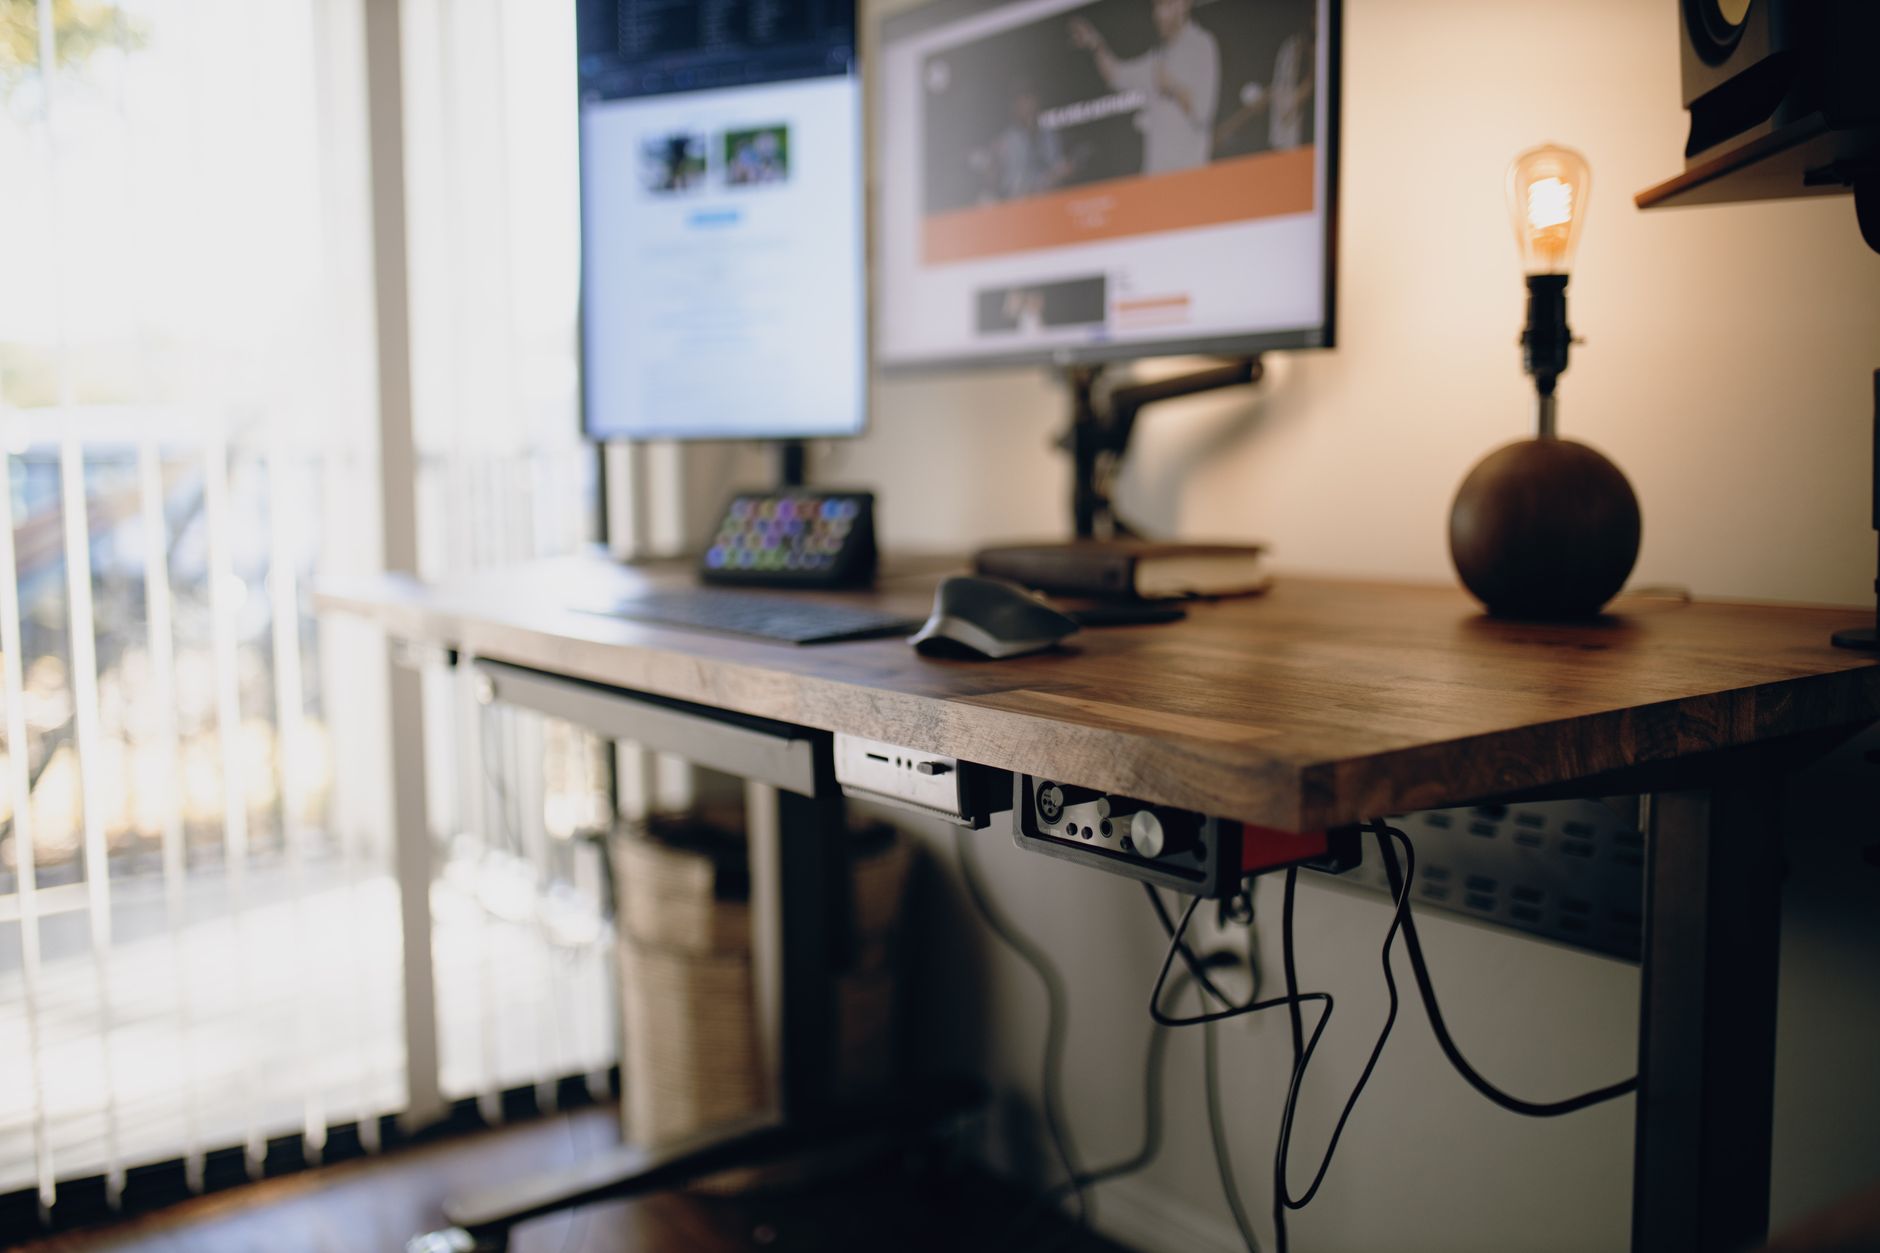
Your keyboard and mouse should sit close to your body, ideally 1 to 3 inches from the edge of the desk. Keep your wrists in a neutral or slightly extended position. That means your forearm, wrist, and hand form a fairly straight line. If your keyboard is too high, you will bend your wrists upward. If it is too low, you will ride your wrists on the desk edge. Both positions can compress the carpal tunnel and contribute to wrist or hand pain. A keyboard tray can help if your desk will not go low enough.
Place the mouse as close to the keyboard as possible. Reaching far to the side puts strain on the shoulder and elbow over time. If you do a lot of mouse work, consider an ergonomic mouse or a keyboard without a number pad so the mouse can sit closer. Our ergonomic mouse guide explains how vertical and trackball options reduce forearm rotation. The best ergonomic keyboards of 2026 list includes split and compact boards that help keep wrists straighter.
While standing, your keyboard should be at or slightly below elbow height, never above it. If you feel tension in the tops of your forearms, the desk is probably too high. If your shoulders round forward, you may be leaning to reach a keyboard that is too low. Take a quick photo of yourself from the side. Draw an imaginary line from your ear through your shoulder, hip, and ankle. Your elbow should bend near 90 degrees without your shoulders lifting. Small changes of half an inch matter a lot when you repeat them for hours. If wrist pain persists, see our wrist pain guide.
- Stack your standing posture from feet to head
Start at your feet. Stand with your feet about hip-width apart. Your weight should be spread evenly across both feet, not shifted into your heels or the balls of your feet. Soften your knees slightly. Do not lock your knees, which can restrict circulation and cause lightheadedness. An anti-fatigue mat is not a gimmick. It encourages subtle calf and foot movements that keep blood moving. The best desk mats of 2026 include standing mats with beveled edges that support this.
Shift your weight from one foot to the other every few minutes. You do not need to stand still like a soldier. In fact, small movements help your spine and legs more than a rigid posture. Keep your pelvis stacked under your ribcage. Avoid pushing your hips forward or letting your belly hang toward the desk. A neutral pelvis reduces the arch in your lower back. If you feel back pain while standing, check whether you are leaning on one hip. Use a small footrest or a box to place one foot on for a minute or two, then switch. This posture alternation reduces lumbar strain.
Your shoulders should be relaxed, with your shoulder blades gently settled down your back. Your head should rest above your spine, not jutting forward. Imagine a string pulling the crown of your head toward the ceiling while your chin stays level. If you catch yourself leaning toward the screen, bring the monitor closer or increase the font size instead of leaning. Standing posture is not about being perfect. It is about keeping joints stacked and making frequent micro-adjustments. The workstation setup guide from a physical therapist reinforces these alignment cues.
- Calibrate your seated position for a smooth sit-stand switch
Your standing desk setup only solves half the picture. The seated portion of sit-stand work needs equal attention. Set your chair seat height so your feet rest flat on the floor and your knees bend at about 90 degrees. Many standard office chairs adjust from roughly 16 to 21 inches at the seat. If your feet dangle, lower the chair or add a footrest. If your knees are above your hips, raise the chair. A quality ergonomic chair with adjustable seat depth and lumbar support makes the seated half far less taxing. See our best ergonomic chairs under $500 for budget-friendly options that still allow proper adjustment.
The desk height for sitting may be different from standing. That is normal. Electric desks with memory presets allow you to switch from your standing preset to your sitting preset in seconds. While seated, your keyboard and mouse should still be at elbow height. If the desk is too high for sitting, your shoulders will creep up. If it is too low, you will slump. The catch is that human bodies are not perfectly symmetrical. You may need to experiment with half-inch adjustments throughout the day.
Test your seated setup by sitting all the way back in the chair. Your lower back should feel supported by the lumbar curve. Your feet should reach the floor or a footrest. Your forearms should rest on the desk or armrests without raising your shoulders. If you return to sitting after 30 minutes of standing and the chair feels wrong, do not ignore it. Small discomfort compounds over weeks. Use this seated check at least once in the morning and once after lunch. Our guide on back pain from sitting covers what to fix when seated work still hurts.
- Build a sit-stand schedule you can actually follow
Do not start with three hours of standing. The most common mistake is standing too long on day one and then storing the desk at standing height forever. Start with 15 to 20 minutes of standing per hour. Over two weeks, you can work up to alternating between sitting and standing every 30 to 60 minutes. Research suggests that brief, frequent movement breaks are better than one long standing session. Set a reminder on your phone or use a desk control pad with a timer. The goal is a balanced rotation, not a competition to avoid your chair.
During standing blocks, take micro-breaks every 20 to 30 minutes for 30 to 60 seconds. Walk to get water, do a few shoulder rolls, or march in place. These micro-breaks reduce static loading in your low back and legs. You can also perform a quick calf raise at your desk. If your job requires long phone calls or data analysis, schedule those tasks for seated or standing blocks based on what feels comfortable. Some people concentrate better seated, while others prefer standing for calls. Match the task to your alertness level.
Track how your body responds for the first two weeks. If your feet ache by noon, add an anti-fatigue mat or reduce standing time. If your lower back tightens after standing, check your pelvis and shoes. The sit-stand schedule should reduce pain, not replace sitting pain with standing pain. Use our home office ergonomic mistakes guide to spot patterns before they become chronic. Small experiments are safer than a sudden overhaul.
- Recheck your setup and move more throughout the day
Your body changes from morning to evening. Your spine compresses slightly during the day, and your energy levels shift. Recheck your desk and monitor height once a week, not once a year. Move through a quick checklist: elbows at 90 degrees, monitor top at or slightly below eye level, screen 20 to 40 inches away, wrists flat, feet supported. Ten seconds of checking is enough. If you use different shoes for standing, your elbow height may change by half an inch. Adjust the desk preset accordingly.
Pair your standing desk with regular eye breaks. The eye strain guide explains the 20-20-20 rule: every 20 minutes, look at something 20 feet away for 20 seconds. This matters because standing brings your eyes closer or farther from the screen depending on how you lean. Dry eyes and headaches can disguise a monitor height problem. Keep the top of the screen clean, and reduce overhead glare. You may need a monitor arm to fine-tune screen position for both sitting and standing.
Finally, make movement part of your workstation, not an afterthought. A sit-stand desk is a tool for changing posture, not a magic fix. You can upgrade any part of your setup later. The best footrests of 2026 help shorter users maintain proper seated hip and knee angles. If you notice wrist discomfort, revisit your mouse and keyboard position. Our wrist pain guide breaks down what to change first. Healthy sit-stand transitions come from small, repeatable habits.
Red Flags & Warnings
- 🚨 Do not lock your knees while standing. Keep a slight bend to maintain blood flow and prevent dizziness.
- 🚨 Avoid standing for more than 60 consecutive minutes. Alternate with sitting or walking to reduce lower limb fatigue.
- 🚨 If your monitor is more than 40 inches away or below eye level, do not crane your neck. Move the screen closer or raise it.
- 🚨 Do not ignore foot pain. Get an anti-fatigue mat and wear supportive footwear instead of trying to push through.
- 🚨 Do not set the desk to your seated height while standing. Raised shoulders and bent wrists are early signs of a too-high desk.
- 🚨 If you feel sharp pain, numbness, or tingling, stop and seek a medical evaluation. Ergonomic adjustments help, but they do not treat an injury.
Frequently Asked Questions
How high should my standing desk be?
Set the desk so your elbows bend at 90 degrees and your wrists stay flat while typing. The desk surface should be at or slightly below your standing elbow height. For most people this is around 40 to 45 inches from the floor, but measure your own body.
How far should my monitor be from my eyes?
Keep the screen 20 to 40 inches from your eyes. For a 24 to 27 inch monitor, 24 to 30 inches is common. If you lean forward, move the monitor closer or increase the font size.
How long should I stand at a standing desk?
Start with 15 to 20 minutes per hour and gradually build to alternating every 30 to 60 minutes. Avoid standing for more than 60 minutes without a break. Add micro-breaks every 20 to 30 minutes.
Do I need an anti-fatigue mat for a standing desk?
It is highly recommended. An anti-fatigue mat encourages subtle foot and calf movement, reduces heel pressure, and improves comfort during standing blocks. You can use a cushioned mat or a padded carpet square as a short-term option.
Why does my lower back hurt after using a standing desk?
Lower back pain in standing often comes from locking knees, leaning on one hip, or standing too long too soon. Check that your pelvis is neutral and your feet are hip-width apart. Reduce standing duration and add movement breaks.
Can a standing desk fix my neck and back pain?
A standing desk alone will not fix pain. It gives you the option to change posture and move more. Proper setup, regular sit-stand transitions, and a supportive chair matter just as much.
What Should You Remember?
- Desk height: Set the desk to your standing elbow height so wrists stay flat and shoulders stay relaxed.
- Monitor placement: Put the top of the screen at or slightly below eye level and keep it 20 to 40 inches away.
- Sit-stand rhythm: Alternate between sitting and standing every 30 to 60 minutes, not all day in either posture.
- Keyboard and mouse: Keep them close to your body with wrists neutral, not bent upward or twisted.
- Standing posture: Stand with feet hip-width, knees soft, weight balanced, and make frequent micro-movements.
- Chair setup: Set seat height for flat feet and 90-degree knees, then adjust lumbar support for the seated half.
- Recheck weekly: Small changes in shoes, chair height, or monitor angle can alter your alignment.
This article is for general information only and is not medical advice. Ergonomic guidance varies by body type and underlying conditions. Consult a physician or physical therapist for persistent pain before changing your workstation.