As a physical therapist, I see desk workers who have tried expensive chairs and still struggle with back pain. The missing piece is usually not the product. It is the setup. Your body needs alignment, movement, and support at the same time. This guide walks through every station adjustment from the floor to the screen. If you already have persistent pain, start with our back pain from sitting guide.
Sitting still in a slightly awkward position for eight hours creates small loads that add up. Your neck, shoulders, and lower back pay the price. Most people set up a desk by feel and never test the angles. That leads to leaning, shrugging, or twisting without noticing. Small changes in seat height, monitor distance, and reach can shift joint loads dramatically. Avoid the common home office ergonomic mistakes first.
The guidelines here line up with research from the Cornell University Ergonomics Web and the Occupational Safety and Health Administration. Both sources stress neutral postures and measurable adjustments. You do not need a physical therapy degree to use them. You need a tape measure, a few free minutes, and the willingness to retest your setup. This is not a one-time fix. Your body changes and your equipment may drift over time.
You also need the right equipment for your body size. A chair that cannot lower far enough will force a shorter person to perch. A monitor that sits too low will make a taller person flex the neck all day. Our best ergonomic chairs 2026 guide can help if your current chair lacks the adjustments below. But first, follow the eight setup steps. They cost nothing and often solve more pain than new gear.
What You’ll Need
- Adjustable office chair with seat height and depth controls
- Tape measure for checking distances
- Monitor riser or monitor arm
- Footrest or firm box as needed
How Do You Set Up an Ergonomic Workstation a Physical Therapist Recommends?
- Adjust your chair seat height and depth first
Start with the chair because every other measurement builds on it. Sit down with your feet flat on the floor and your hips all the way back in the seat. Raise or lower the chair until your knees bend close to 90 degrees. Your thighs should rest evenly on the seat without pressure behind the knees. For most people, a seat height between 16 and 21 inches works, but the exact number depends on your leg length. If the chair cannot go low enough, use a footrest instead of raising your feet off the floor.
Seat depth matters just as much as height. Slide the seat pan forward or back until you can fit two to three fingers between the front edge of the seat and the back of your knee. If the edge touches your calf, the seat is too deep and can compress blood vessels. If there is a larger gap, the seat is too shallow and will not support your thigh. Many premium chairs, such as the Herman Miller Aeron, provide adjustable seat depth. Budget chairs often do not, so check the specs before buying and see our best ergonomic chairs under 500 list for options.
Once the seat height and depth are correct, check your ankle and hip angles. Your ankles should rest slightly in front of your knees, not behind them. Your hips should be at or slightly above your knees. This position reduces lumbar disc pressure compared with a reclined or slumped posture. Do not let your feet dangle. That position makes your thigh muscles work to stabilize you and compresses the back of the leg.
Common mistakes include setting the chair too high because the desk is fixed and too deep because it was delivered that way. Both force you to sit on the edge or lean forward. If your desk cannot be adjusted, fix the chair first and then address the desk surface in a later step. Recheck seat height every few months because pneumatic cylinders can sink slowly over time.
- Set lumbar support and recline tension
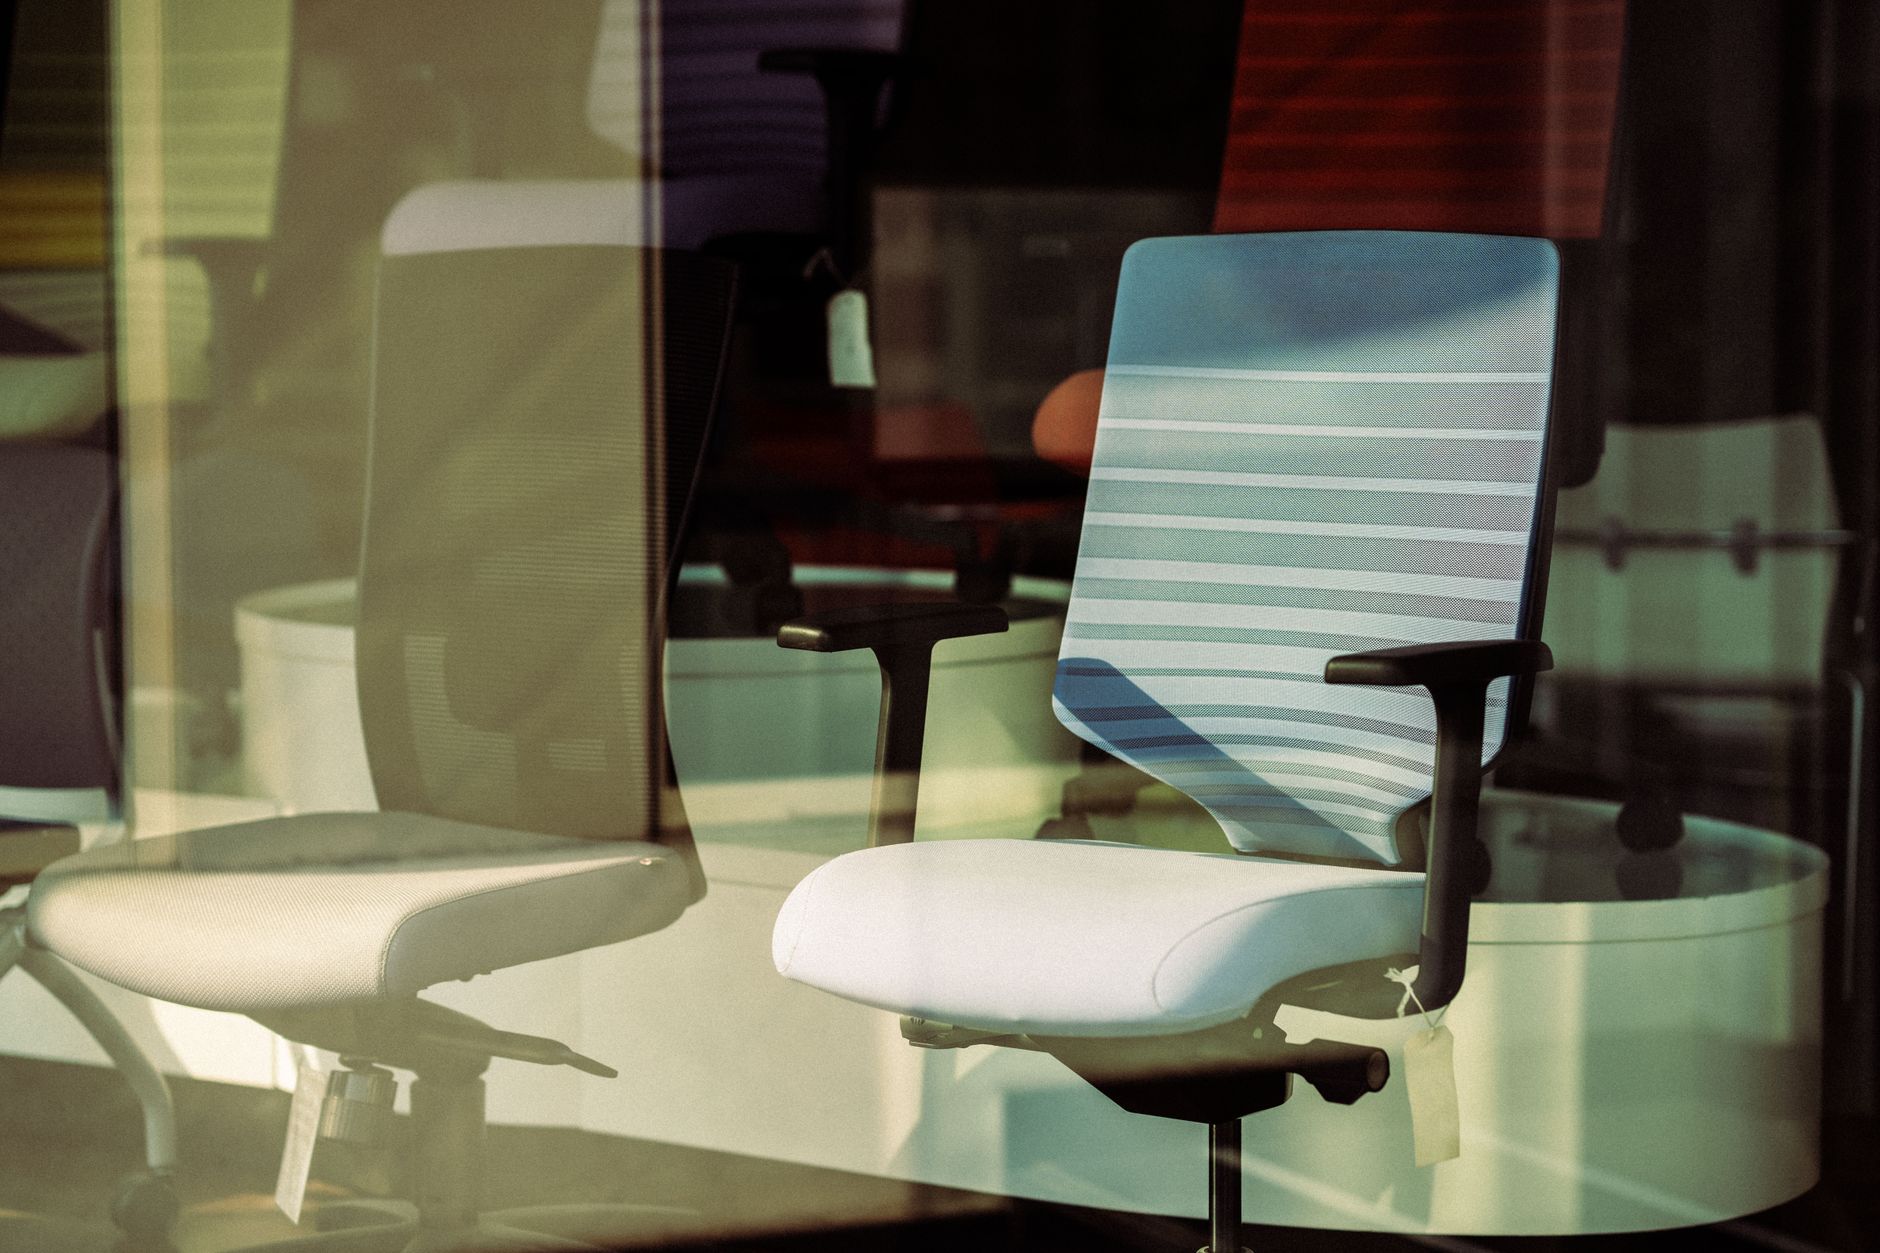
Lower back support works only if it is positioned at the right height. The lumbar curve sits just above your belt line. Adjust the support so it fills the small of your back without digging into the pelvis or ribs. If the chair has a height-adjustable lumbar pad, place it in the curve, not directly behind the spine. A support placed too high will push your upper back forward. Too low will encourage a flat, slumped posture.
Recline tension controls how easily the chair tilts back. Set it so you can lean back without the chair dropping away, but not so stiff that you cannot move. A small amount of recline, around 100 to 110 degrees, reduces disc pressure compared with sitting bolt upright. You do not need to stay in that recline all day. You need the option to shift often. Locking the chair in a rigid upright position often creates more shoulder tension.
Do not rely on a rolled towel or generic cushion until you have adjusted the built-in support. That said, if your chair has no lumbar option, a small rolled hand towel at the small of your back can help temporarily. The catch is that anything too thick will push you forward on the seat and ruin the leg clearance you set in step one. Test the support by sitting back into the chair and placing your hands on your lap. Your shoulders should remain relaxed and your neck should not protrude forward.
Many people blame back pain on weak core muscles and ignore the chair. But support and movement patterns drive most desk-related pain. If you need help choosing a chair with proper lumbar adjustment, start with our best ergonomic chairs 2026 guide. The best chair is one you can adjust to your spinal curve, not the most expensive one.
- Position your keyboard and mouse within neutral reach
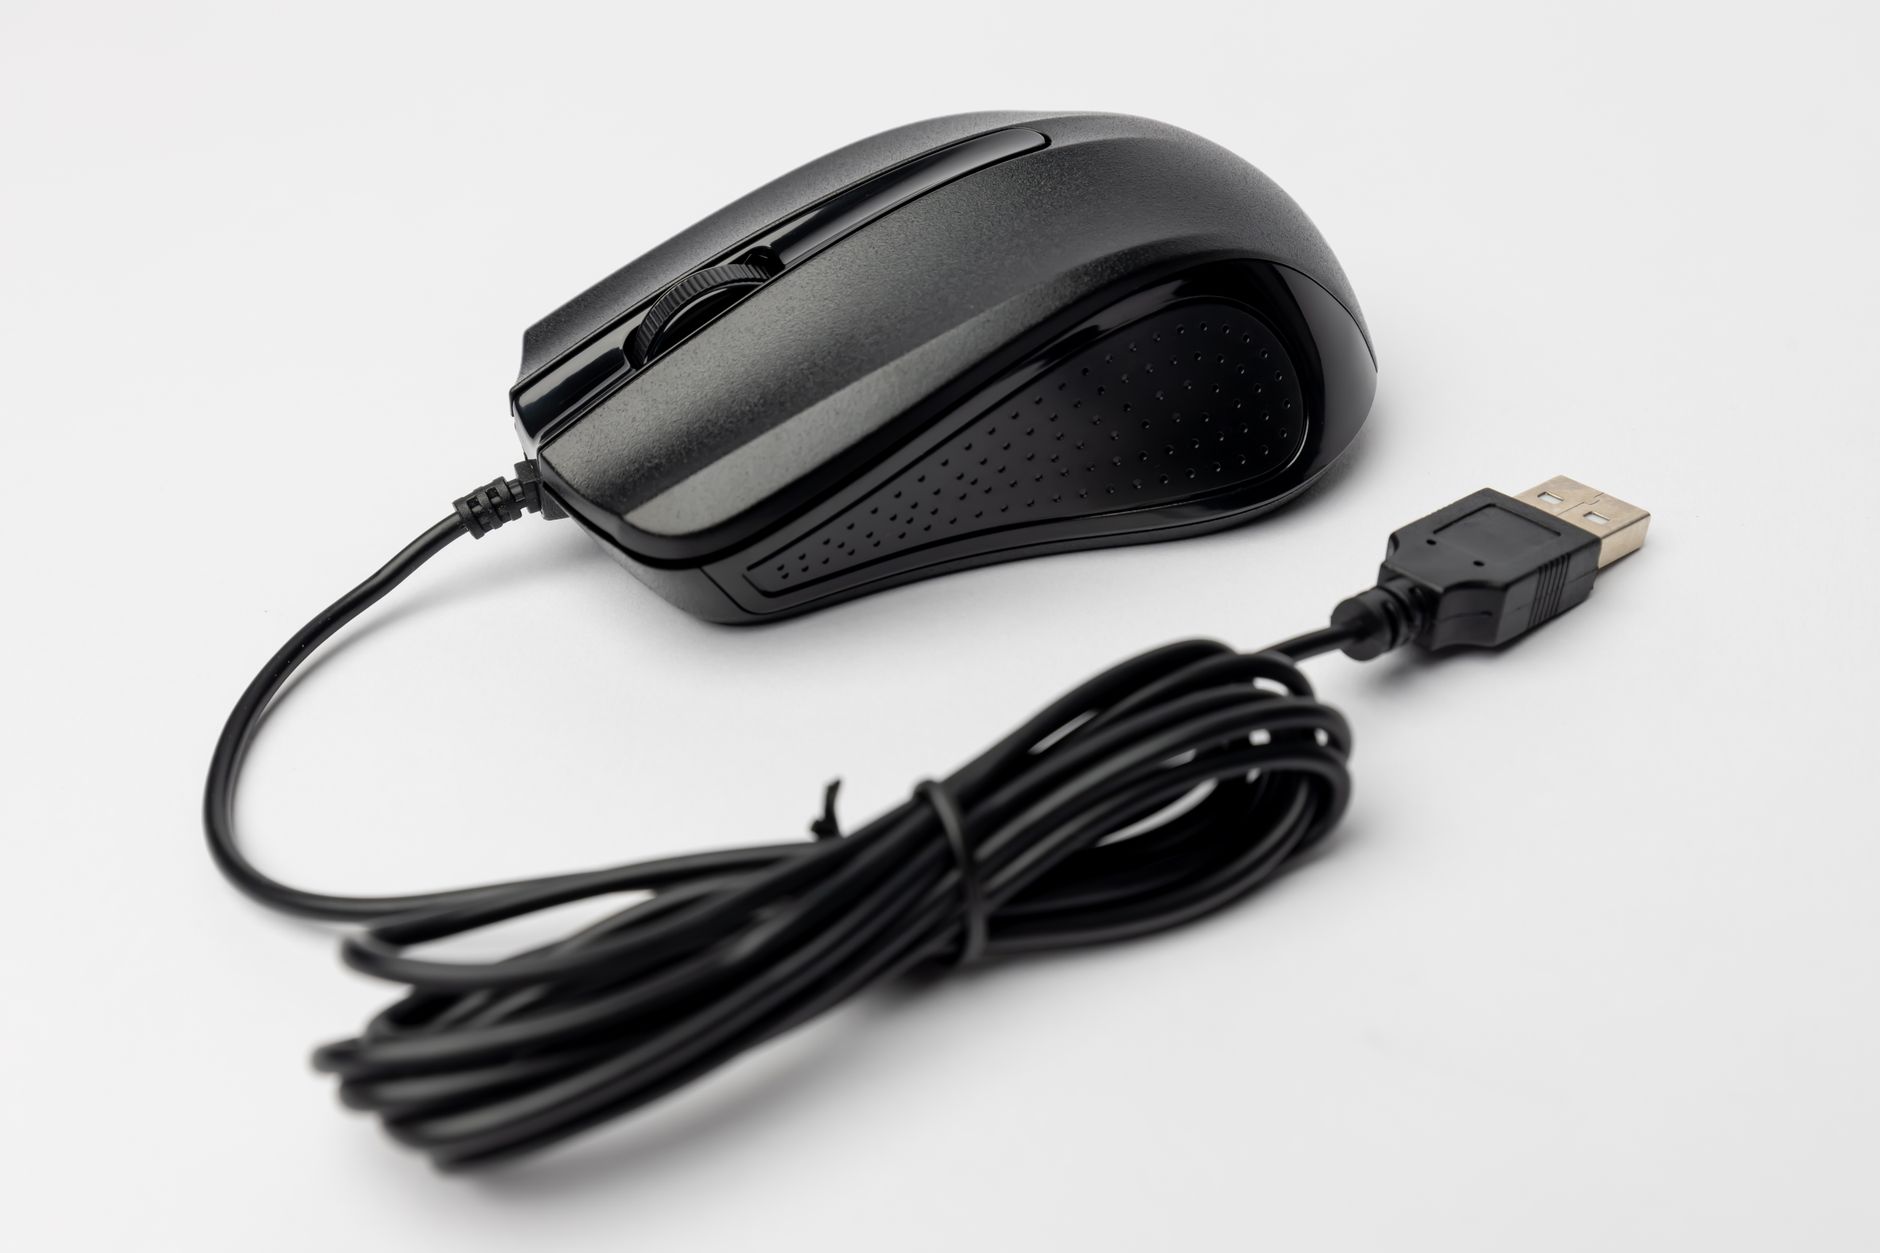
Your keyboard and mouse should sit at a height that lets your elbows stay close to your body and your forearms stay parallel to the floor. Your wrists should not bend up, down, or sideways while typing. Place the keyboard directly in front of you, not to one side. The mouse should be immediately next to the keyboard so you do not reach or twist. A keyboard tray can help if your desk is too high, but a permanent fix is usually a lower desk or a height-adjustable surface.
To test your setup, sit back in the chair and let your arms hang. Bend your elbows to about 90 degrees. Your keyboard should be at or slightly below that height. If your forearms angle upward to reach the desk, your shoulders and wrists will fatigue. If the desk cannot be lowered, raise your chair and use a footrest to keep your feet supported. For product options, see our best ergonomic keyboards 2026 and best ergonomic mouse 2026 guides.
A split keyboard or tented keyboard can reduce wrist extension, but it is not a substitute for correct height and reach. The same applies to vertical mice. A vertical mouse, such as the Logitech MX Vertical, rotates the forearm into a less twisted position. Still, if the mouse sits far from your body, you will still irritate the shoulder. Keep your mouse on the same plane as the keyboard and close to the edge of the desk.
Wrist rests can be useful for brief pauses, but avoid planting your wrists while typing. Continuous contact can compress the carpal tunnel. Your hands should float slightly above the rest and move from the elbow, not the wrist. If you already have tingling or numbness, stop using a wrist rest until you consult a professional. Read our wrist pain desk worker guide for red flags and fixes.
- Raise or lower your monitor to eye level
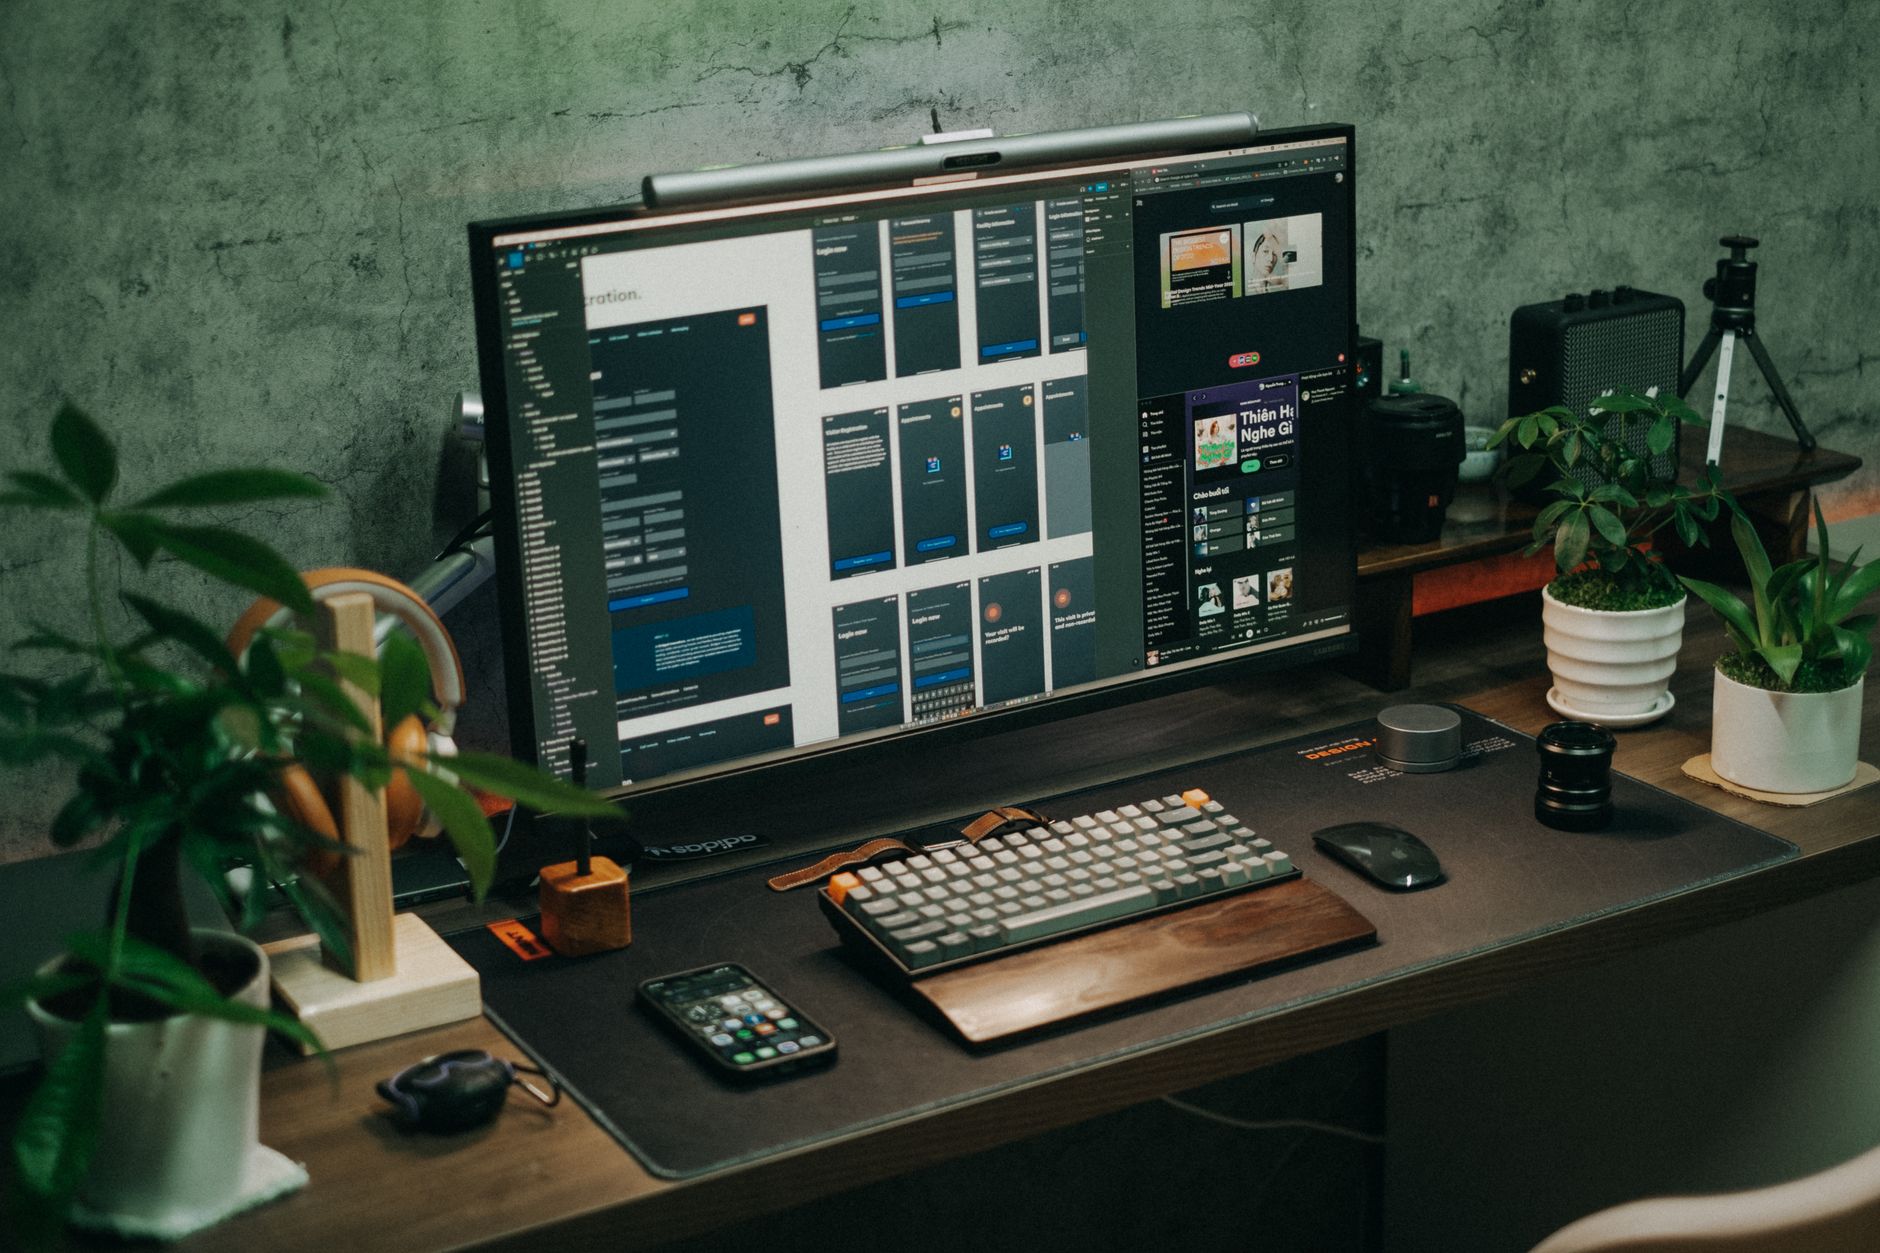
Place the top of the monitor screen at or slightly below your eye level when you sit tall. This position lets you look slightly downward with a neutral neck. A monitor that is too high forces you to extend your neck. Too low makes you flex forward. Use a monitor arm, riser, or books to get the height right. If you wear bifocals or progressive lenses, set the screen lower so you do not tilt your head back to read.
The distance between your eyes and the screen matters too. The Cornell University Ergonomics Web notes that a range of 20 to 40 inches works for most people. A practical starting point is an arm’s length, roughly 20 to 30 inches. If you find yourself leaning forward, move the monitor closer or increase font size. If the screen feels too bright or too close, push it back a few inches. Text size should never force you into a forward head posture.
A monitor arm makes adjusting height and distance easier because you can move the screen with one hand. It also frees desk space for your keyboard and mouse. For recommendations, see our best monitor arm 2026 guide and our best ergonomic setup for dual monitors article. If you use a laptop as your primary screen, elevate it so the top of the screen is near eye level and use an external keyboard and mouse.
Check screen tilt and glare next. The monitor should be tilted back slightly, around 10 to 20 degrees, so your line of sight meets the screen perpendicularly. Avoid windows or lights directly behind or in front of the screen. Glare makes you squint and lean. Adjust blinds, use a matte screen filter, or reposition the monitor at a right angle to the window. Our eye strain computer screen relief guide has more on lighting, blinking, and the 20-20-20 rule.
- Arrange desk layout and phone to avoid twisting
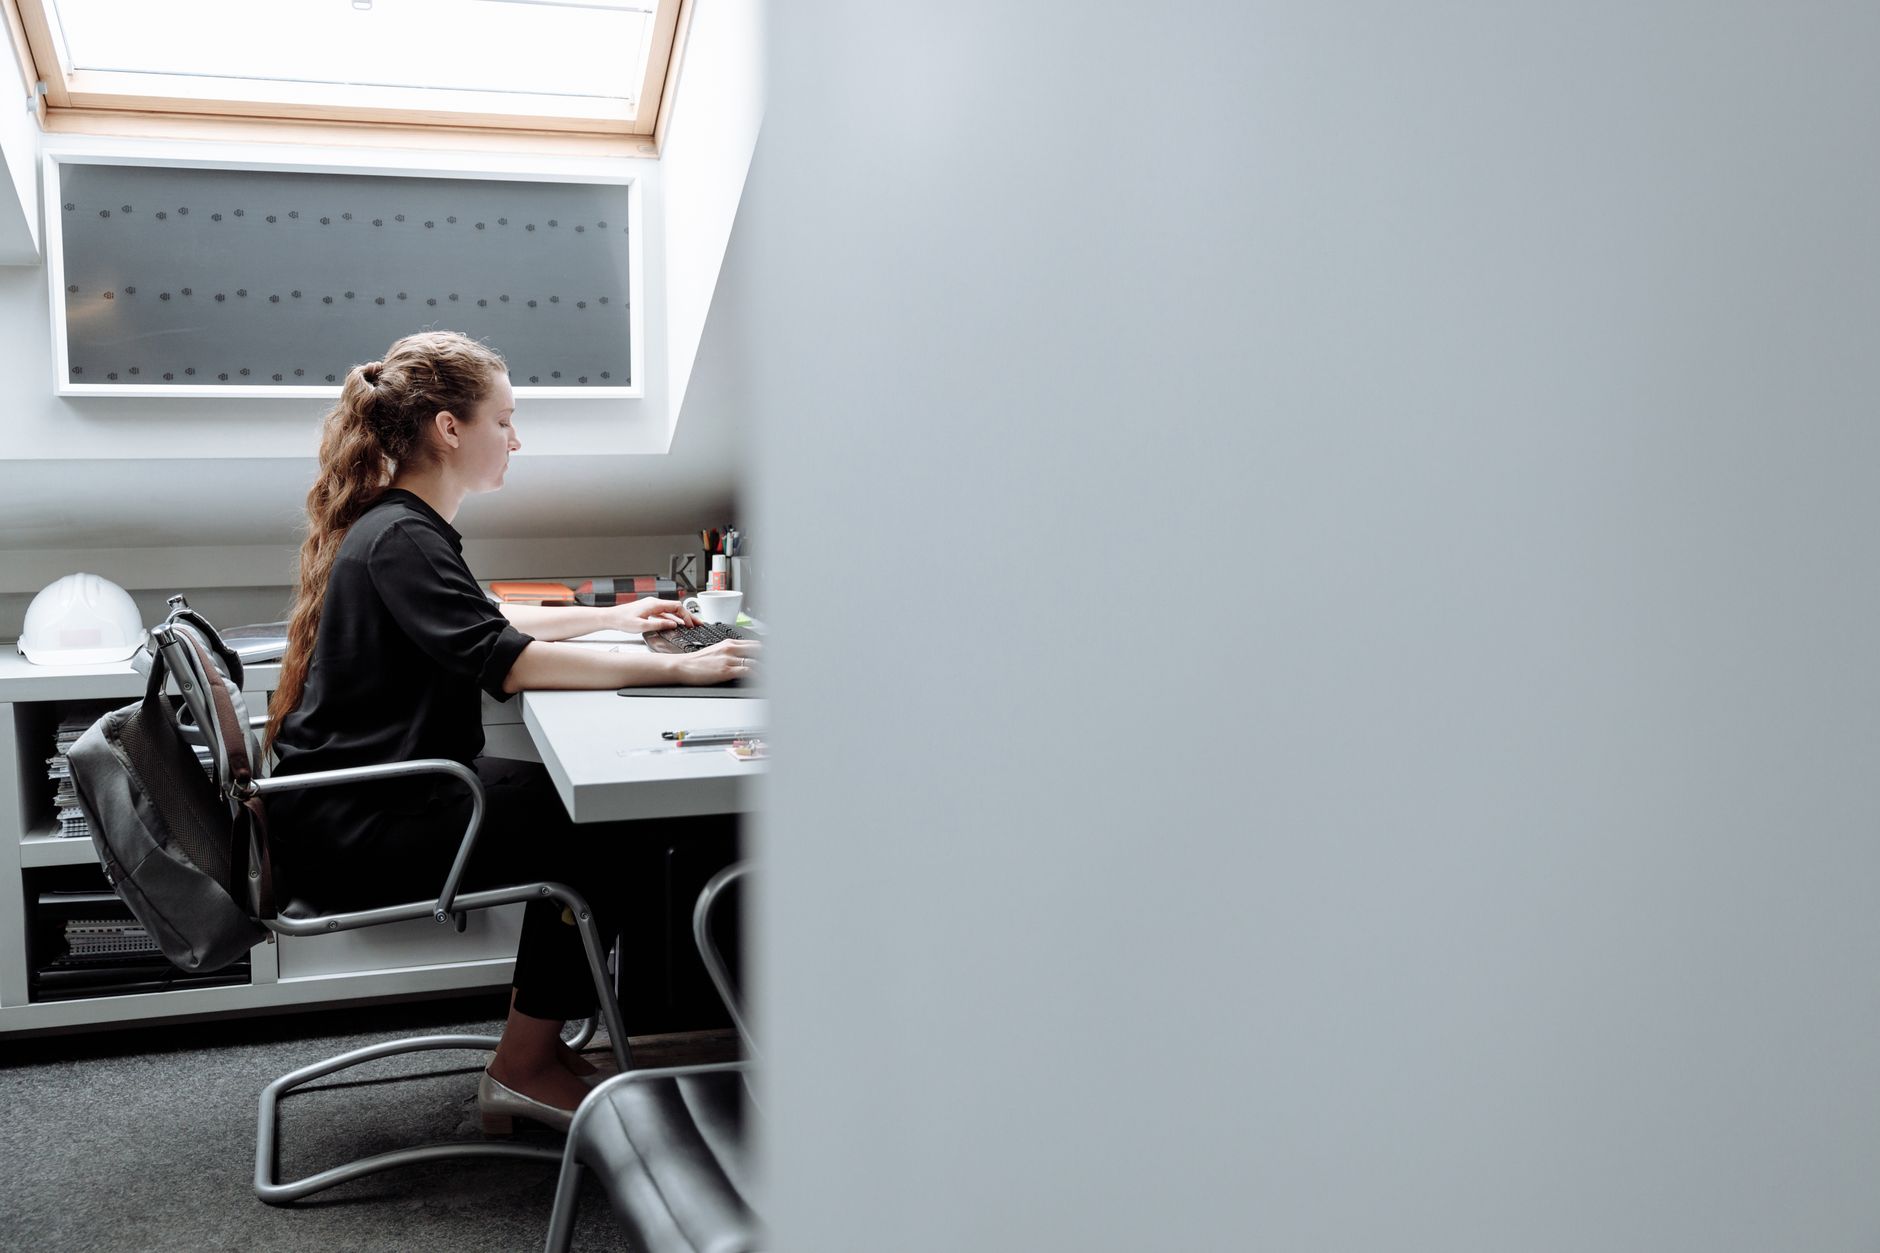
Your body should face the task you perform most often. Keep your primary monitor, keyboard, and mouse in a straight line with your chair. If you turn to look at a secondary screen or paper documents many times per hour, your spine and neck will rotate repeatedly. Place frequently used items, such as a phone, notepad, or coffee, within a 16 to 18 inch reach arc. That way you do not protract the shoulder or lean sideways.
If you use a phone often, use a headset or speakerphone instead of cradling the handset between your ear and shoulder. That posture creates a large side bend and compresses cervical discs. A wireless or corded headset allows your neck to stay neutral. For occasional calls, hold the phone in your hand and switch sides. Never use the shoulder pinch technique, even for short calls.
Cable management also affects posture. Cords that cross under the desk may push you to sit off-center or hook your feet. Tie cables away from your foot zone and use a desk mat if you need a smoother surface. A quality mat can reduce friction for chair movement, making it easier to slide closer to the desk without twisting. See our best desk mats 2026 guide for options that suit hard floors and carpet.
Finally, if your desk is too deep, you may lean forward to reach the keyboard. If it is too shallow, you will push the monitor away and strain your eyes. A desk depth of 24 to 30 inches usually works, but your body test matters more. The keyboard should be near the front edge, and your forearms should have room to rest. Reposition items weekly as a reminder to check your movement path.
- Use a footrest or standing desk option when needed
If your chair must be raised to match a fixed desk, a footrest becomes essential. Dangling feet pull the pelvis forward and increase pressure on the lower back. A footrest gives your feet a stable base so your hips and knees can stay near 90 degrees. Choose a footrest with adjustable height and angle if possible. A firm box can work in the short term, but a dedicated footrest will be more stable. See our best footrests 2026 guide for options.
Sitting all day is not the only answer. A standing desk or desk converter lets you change spinal loading by moving from sitting to standing. Still, standing all day creates its own fatigue and varicose vein risk. The goal is variation. Start with 15 to 20 minutes of standing per hour and build gradually. Alternate with sitting and short walks. For full desk recommendations, see our best standing desks 2026 guide. If you cannot replace your desk, a standing desk converter can sit on your current surface.
Set your standing desk height just like your sitting desk. Your elbows should stay near 90 degrees with your forearms roughly parallel to the floor. Your wrists should remain neutral. The top of your monitor should stay at or slightly below eye level. Use an anti-fatigue mat if you stand on hard floors. That mat reduces lower limb discomfort and encourages small weight shifts. Many people skip this and then abandon standing because their feet hurt.
Do not switch to standing too aggressively. If you have back pain, stand for only 10 minutes at a time. Then sit, walk, or stretch. Over time, increase standing duration to 30 minutes per hour. A sit-stand routine works best when you keep moving, not when you lock one position. Our how to set up standing desk correctly article has the full height and posture checklist.
- Move, microbreak, and rest your eyes during the day
Even a perfect workstation becomes a problem if you never move. Static postures reduce blood flow and let muscles fatigue in a shortened or lengthened position. The OSHA ergonomics page emphasizes that ergonomic improvements should be combined with work practice controls such as breaks and task variety. A good rule is to take a 1 to 2 minute microbreak every 30 minutes. Stand, roll your shoulders, or walk to get water.
Your eyes also need breaks. Use the 20-20-20 rule. Every 20 minutes, look at something at least 20 feet away for 20 seconds. This relaxes the focusing muscles inside the eye and reduces digital eye strain. Blink often. Screens reduce your blink rate, which dries the surface of the eye. If you feel gritty eyes or get afternoon headaches, treat that as a sign to adjust lighting, screen distance, or break frequency.
Microbreaks do not mean a workout at your desk. They can be as simple as standing tall, reaching your arms overhead, or taking five slow breaths. The point is to change joint position and interrupt sustained loading. Set a timer or use productivity software that locks your screen for 20 seconds. You can also link breaks to tasks, such as after every meeting or every completed report.
If you tend to sit forward with your chin poked out, try a one minute posture reset every hour. Sit back into the chair, relax your jaw, and let your shoulders drop. Bring your head back over your shoulders without lifting your chin. This reinforces the neutral position you set in steps one through four. For a full setup review, see our how to set up an ergonomic workstation guide.
- Reassess your setup if pain persists
Pain is information, not a normal badge of desk work. If you have an ache that lasts more than a few days, do a step by step check. Start with the chair, then the keyboard, then the monitor. Write down what you changed and whether the pain changed. Minor soreness from a new posture can last a few days, but sharp pain, numbness, or tingling should not be ignored. Those symptoms suggest nerve irritation or joint strain that may need professional guidance.
Lower back pain that worsens after sitting often points to seat depth, lumbar support, or lack of movement. The fix may be as simple as using the backrest instead of perching on the front of the chair. If you sit all day with a wallet in your back pocket, remove it. That small asymmetry tilts the pelvis and changes spinal curves. Our back pain from sitting guide covers these patterns in more detail.
Wrist and forearm pain may come from holding a mouse that is too large, too small, or too far away. Try switching hands for short periods or using keyboard shortcuts to reduce mousing. A vertical mouse can help some people, but it is not a cure. If you have numbness in the thumb, index, or middle finger, that may be carpal tunnel syndrome. See our wrist pain desk worker guide for a full breakdown and when to seek treatment.
Finally, know when to ask for help. Physical therapists can assess your posture, strength, and movement patterns and design a specific plan. Occupational therapists often specialize in workstation ergonomics. If your employer has an ergonomics program, request an evaluation. A good setup reduces strain, but it does not fix every underlying weakness or injury. Pair the workstation changes with appropriate exercise and medical advice.
Red Flags & Warnings
- 🚨 Do not ignore tingling or numbness in your fingers. That can signal nerve compression from a poorly placed mouse or keyboard. Adjust your reach and wrist angle first, then seek medical advice if symptoms persist.
- 🚨 Do not crane your neck toward a laptop screen. If you use a laptop as your only monitor, raise it and add an external keyboard and mouse. Your neck should not flex more than 15 degrees for long periods.
- 🚨 Do not set chair armrests too high. Armrests should let your shoulders relax and your elbows bend near 90 degrees. If they lift your shoulders, lower them or remove them.
- 🚨 Do not force your spine into a completely straight posture. A slight reclined position around 100 to 110 degrees often reduces disc pressure. Let the backrest do the work.
- 🚨 Do not use foot elevation as a substitute for proper seat height. If your feet dangle and you add a tall footrest only, your knees may rise above your hips and change spinal loading. Adjust the chair height first.
- 🚨 Do not work through sharp pain. A dull ache from a long day might ease with movement, but sharp, shooting, or persistent pain should be evaluated. Continuing to sit in a painful position can worsen the injury.
Frequently Asked Questions
How high should my monitor be?
Set the top of the monitor screen at or slightly below eye level when you are sitting tall. This lets your eyes look slightly downward without flexing or extending your neck. If you wear bifocals, set the screen lower. Use a monitor arm or riser to make small height changes.
What is the best distance between my eyes and the monitor?
Start with an arm’s length, roughly 20 to 30 inches. Cornell University research supports a range of 20 to 40 inches for most users. Increase font size or move the screen closer if you find yourself leaning forward. The right distance depends on your vision and screen size.
How often should I take breaks from sitting?
Take a 1 to 2 minute microbreak every 30 minutes. Stand, move, or change posture. If you use a standing desk, aim for 15 to 20 minutes of standing per hour and build up slowly. Breaks do not need to be long; frequency matters more.
Should my elbows be exactly 90 degrees when typing?
A 90 degree elbow angle is a good starting point, but a slightly more open angle is also fine. The key is that your forearms stay parallel to the floor and your shoulders stay relaxed. Avoid upward or downward forearm angles that force wrist extension or shoulder shrugging.
Is a standing desk better than sitting for back pain?
Neither standing nor sitting is best by itself. The benefit comes from changing positions often. Standing reduces some spinal disc pressure compared with static sitting, but standing all day creates leg fatigue and its own postural strain. Alternate sitting, standing, and walking.
When should I see a physical therapist for workstation pain?
See a professional if pain is sharp, persists beyond a week, or includes numbness or tingling. A physical therapist can identify movement and strength factors that a workstation change alone may not fix. You can also ask for an occupational therapy ergonomic evaluation at work.
What Should You Remember?
- Chair height: Set the seat so your feet rest flat and your knees bend near 90 degrees.
- Monitor position: Keep the top of the screen at or slightly below eye level, about 20 to 30 inches away.
- Keyboard and mouse: Place them close to your body so elbows stay near 90 degrees and wrists stay neutral.
- Lumbar support: Adjust it into the small of your back, not too high or too low.
- Movement breaks: Take a 1 to 2 minute microbreak every 30 minutes and use the 20-20-20 eye rule.
- Pain signals: Stop and reassess if you feel sharp pain, numbness, or tingling; adjust the setup and seek help if needed.
This article is for general information only and is not medical advice. Ergonomic guidance varies by body type and underlying conditions. Consult a physician or physical therapist for persistent pain before changing your workstation.