A home office that feels fine for 20 minutes can become painful after eight hours. Neck strain, lower back fatigue, and wrist aches usually trace back to a workstation that does not fit your body. The fix is not just a new chair or a bigger monitor. It is the order in which you adjust your chair, screen, keyboard, mouse, and lighting. This guide walks through each adjustment in sequence. You can use it with the equipment you already own or shop for upgrades later. If you want a deeper baseline, see how to set up an ergonomic workstation.
Ergonomics is not one-size-fits-all. The Occupational Safety and Health Administration publishes workplace ergonomics guidance that focuses on fitting the workstation to the worker. OSHA ergonomics guidelines are a good starting point. A chair height that works for a 5-foot-4 person will not work for someone who is 6 feet tall. So every step below asks you to test one body part at a time. Start with your feet and build upward. That sequence prevents you from overcorrecting your monitor before your chair is right.
Before you buy anything, know that many common aches come from avoidable mistakes. I have covered those in home office ergonomic mistakes that cause neck and back pain. The same poor setup can also lead to wrist pain and eye strain. A quality chair helps, but even the best chair cannot fix a monitor pushed too far to the side. By the end, you will have a repeatable checklist that you can use every month.
We will reference product categories where specific upgrades help. For example, the best ergonomic chairs of 2026 matter for the first two steps. But do not feel pressure to buy everything today. Use what you have. Adjust it fully. Then replace the weakest link when you can.
What You’ll Need
- Tape measure or ruler
- Phone camera for posture check
- Optional footrest
- Optional monitor arm or laptop stand
How Do You Set Up an Ergonomic Home Office Workstation Step by Step?
- Start with chair height and foot support.
Sit in your chair and slide as far back as possible. Adjust the seat height until both feet rest flat on the floor. Your thighs should be roughly parallel to the floor. Knees should bend at about 90 degrees, though a range of 90 to 110 degrees is acceptable. Avoid dangling feet. They force your lower back to arch or your hips to slide forward. This one adjustment changes pressure throughout your spine.
If your chair range does not go low enough, a footrest can help. Most pneumatic office chairs adjust from about 16 to 21 inches at the seat. Shorter users often need a lower range or a solid footrest. The best footrests for desk workers include adjustable and rocking options. Do not use a stack of books that slides. You need a stable surface.
Chair height is also tied to desk height. Check that your elbows can hang vertically at your sides at the height you just set. If the desk is too high, you may need a keyboard tray or a height-adjustable desk. For now, note the gap between your elbow and the desk surface. We will fix it in the keyboard step. If you want to upgrade, compare the best ergonomic chairs of 2026 for chairs with wider height ranges and adjustable seat depth. One widely used model with a broad fit range is the Herman Miller Aeron. Check the Herman Miller Aeron on Amazon. It is not required. A chair with pneumatic height adjustment and a five-star base is enough for most people.
- Set seat depth and lower back support.
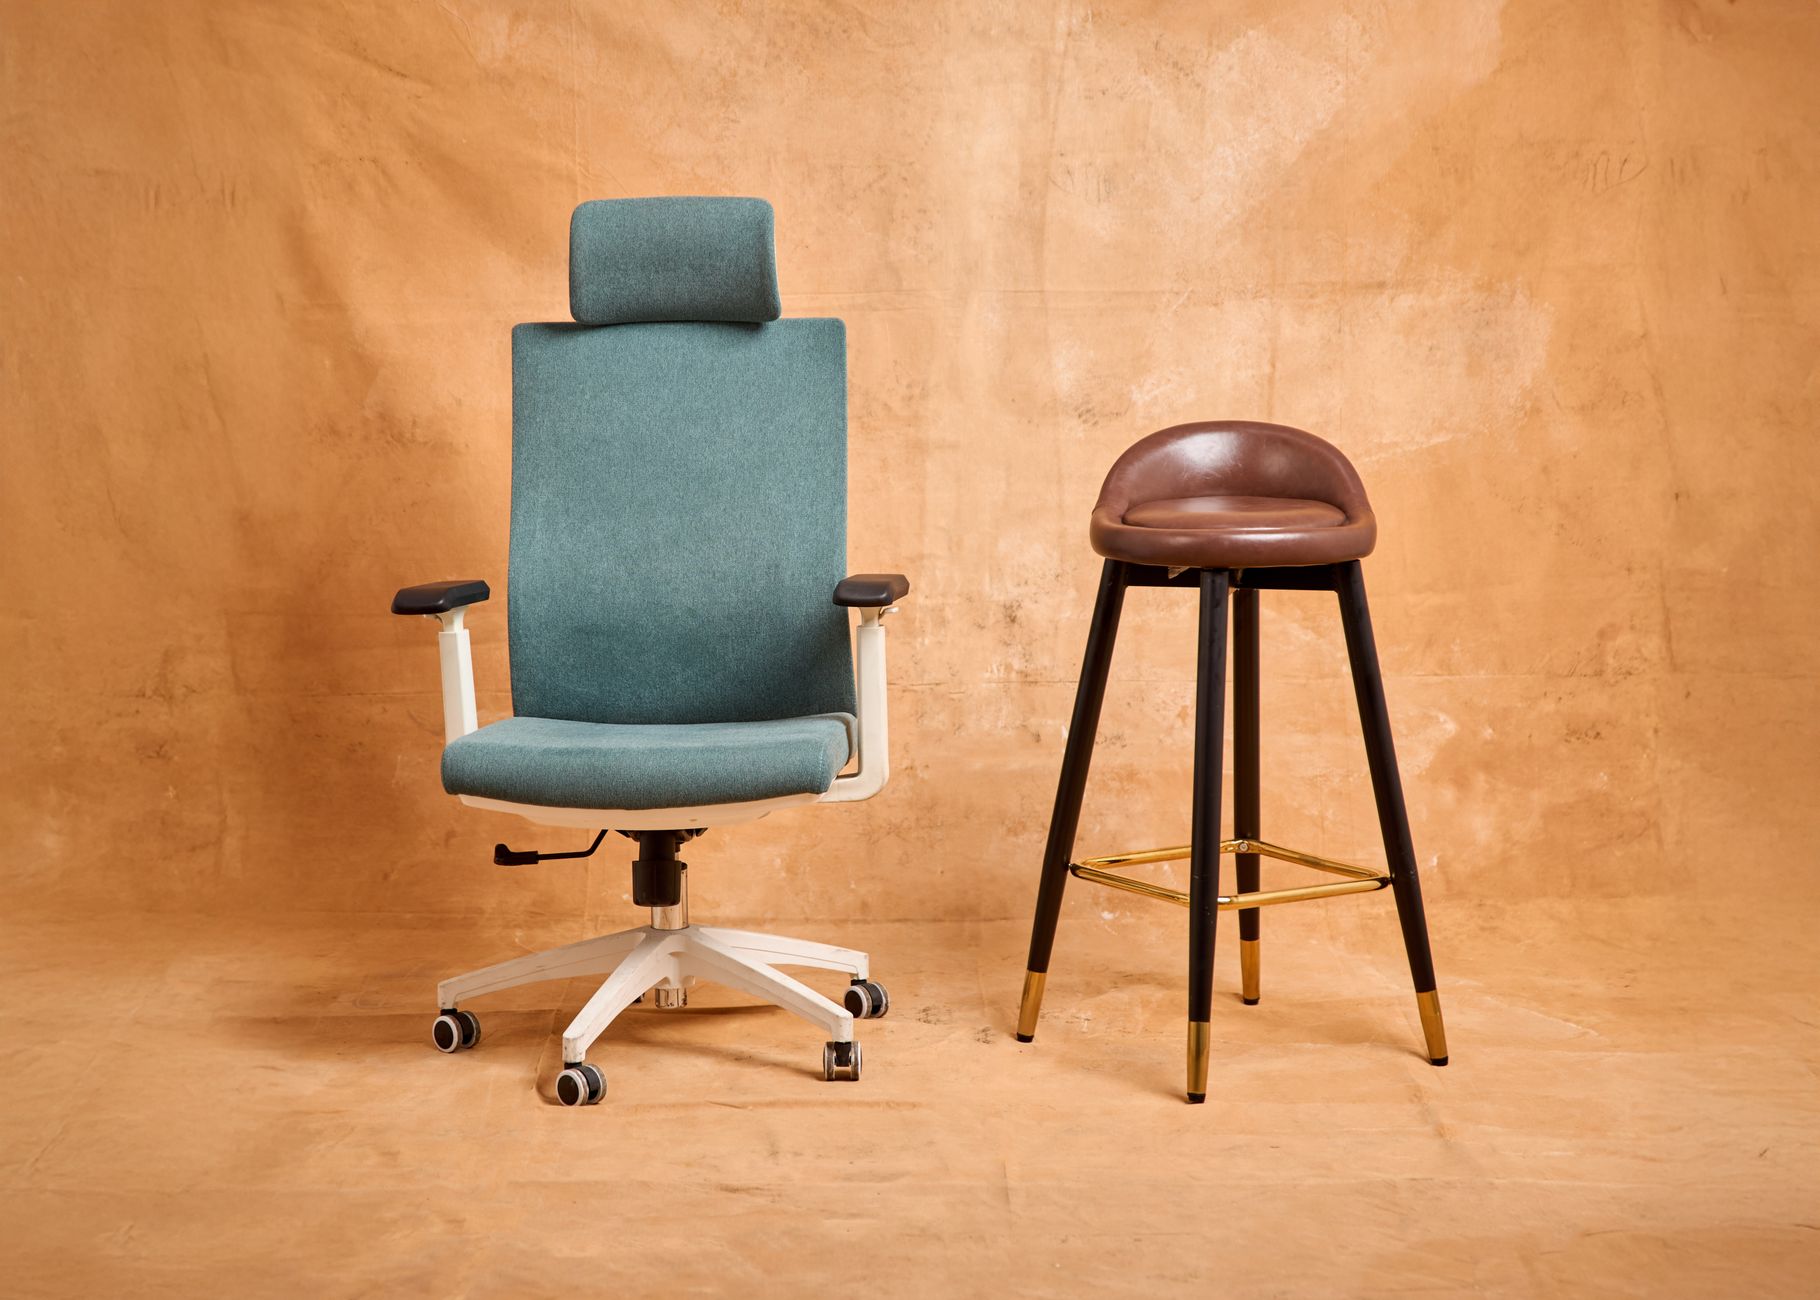
While seated fully back, slide your fingers between the front edge of the seat and the back of your knees. You want about 2 to 3 fingers of space. If the seat is too deep, the front edge presses into the backs of your knees. That pressure can reduce circulation and make you sit forward, which removes lumbar support. Many chairs have a seat pan slider or a depth adjustment. Use it before adding cushions.
Next, adjust the lumbar support. It should fill the curve of your lower back without pushing too hard. The support should contact the small of your back at belt level. If your chair has an adjustable lumbar piece, move it up or down until it feels neutral. Avoid a large gap behind your lower back. That gap increases disc pressure and can lead to the kind of pain described in our guide to back pain from sitting.
If your chair has no adjustable lumbar support, a small rolled towel or a lumbar cushion can work. But first make sure the seat depth is correct. A pillow behind your back often hides a seat that is too deep. Work on depth first. Then test support for 15 minutes. Some people need more support, some need less. Back pain that continues after two weeks of adjustments may need a professional assessment.
- Position your monitor at eye level and arm’s length.
Push your chair into your normal working position. Sit back with good posture. Extend one arm straight toward the screen. Your fingertips should just touch the monitor or land within 20 to 30 inches. Cornell University recommends placing the monitor at a distance that allows you to read text without leaning forward. Cornell University Ergonomics Web notes that too close can increase eye strain, while too far can cause forward head posture.
Raise or lower the monitor so the top of the screen is at or slightly below eye level. If you wear bifocals or progressive lenses, set it 1 to 2 inches lower. That prevents you from tilting your head back to see through the bottom of the lenses. A monitor arm makes this easy. Compare options in the best monitor arms for home offices. The goal is a neutral neck, not a screen that looks impressive on your desk.
Center the monitor directly in front of you. If you use one screen for most work, do not angle it to the side for too long. For dual monitors, place the primary monitor dead center and the secondary monitor to the side, angled slightly toward you. Follow the setup rules in the best ergonomic setup for dual monitors. If you work on a laptop, use a laptop stand and a separate keyboard. The best laptop stands can raise the screen without forcing your neck down.
- Place your keyboard and mouse for flat wrists.
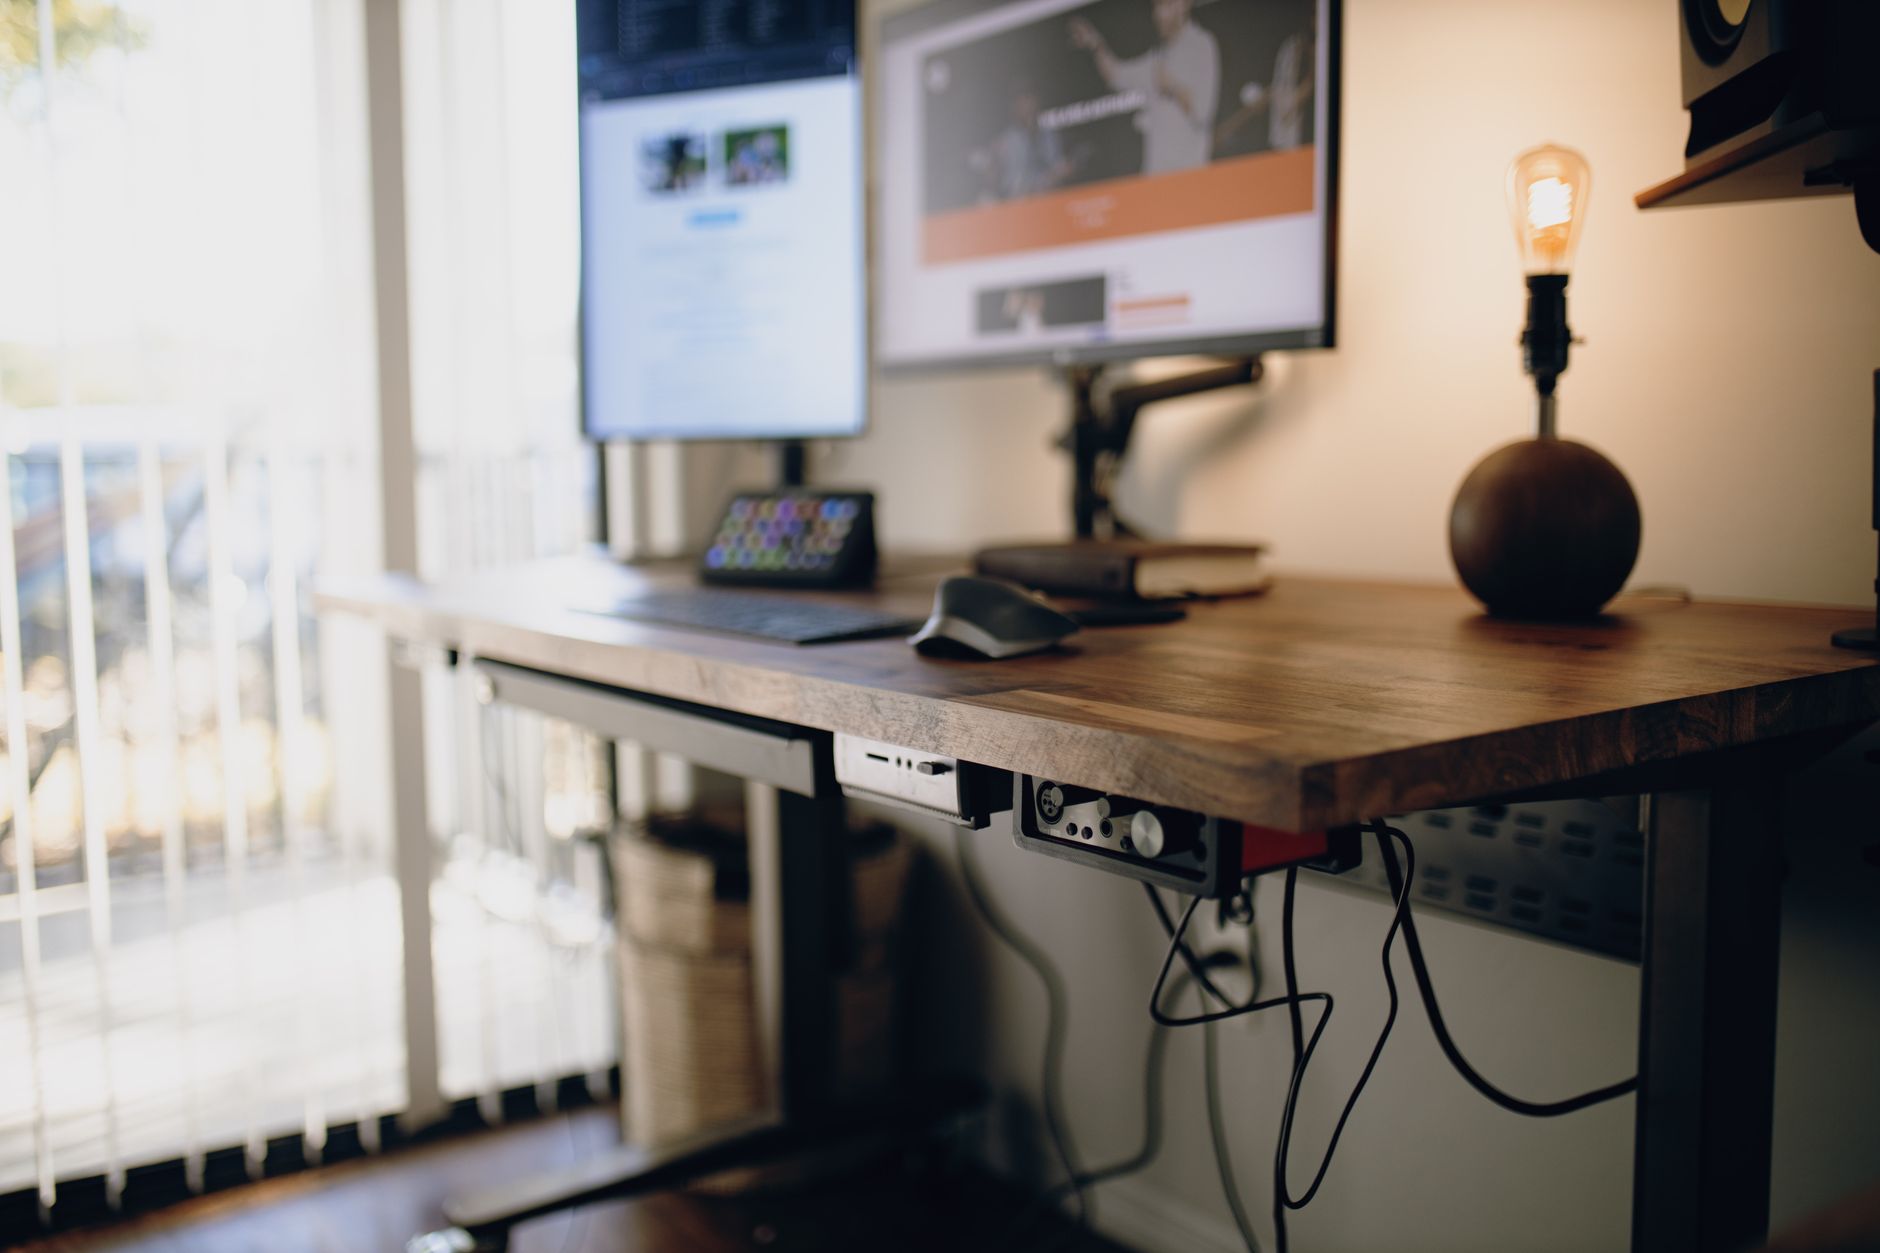
Slide your chair close to the desk. Let your shoulders relax. Bend your elbows to about 90 degrees. Your forearms should be parallel to the floor. The keyboard should sit directly in front of you at that height. If your desk is too high, add a keyboard tray or lower the desk. Typing with raised shoulders for months is a fast route to neck and upper back tension. See wrist pain in desk workers for the full mechanics.
Keep the keyboard flat or at a slight negative tilt. Foot risers that prop the back of the keyboard up can force your wrists into extension. That position increases carpal tunnel pressure. A wrist rest can help during pauses but should not be used while actively typing. Place the mouse immediately next to the keyboard. Reaching for a mouse that is 12 inches away causes shoulder rotation and elbow strain.
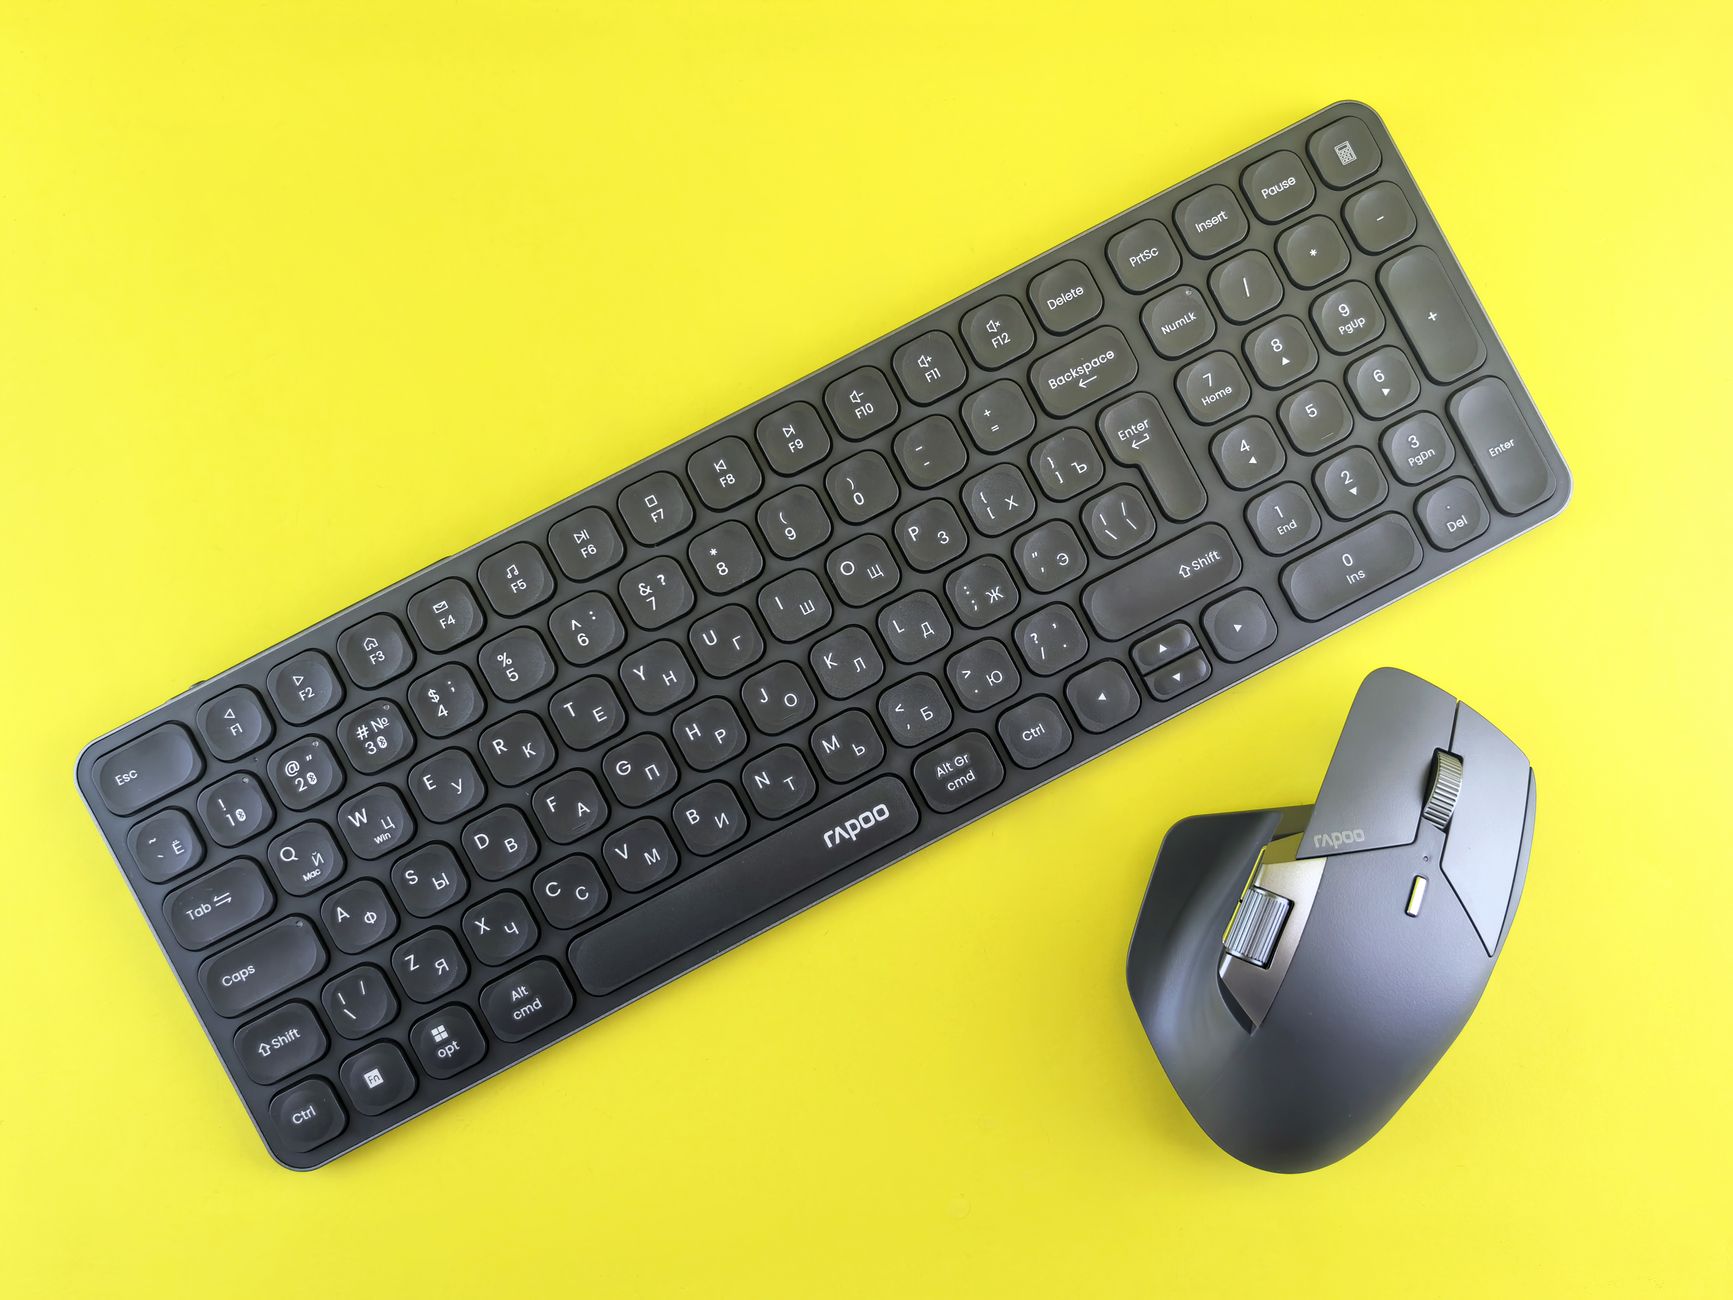
If you have wrist discomfort, consider a split keyboard or a vertical mouse. The best ergonomic keyboards of 2026 include models with tenting and split layouts. For pointing devices, the best ergonomic mouse options compare vertical, trackball, and traditional shapes. A vertical mouse keeps your forearm in a handshake position. That may reduce forearm twist for some people.
Check your hand alignment right now. Your wrist should not bend up, down, or to the side while you type. Imagine a straight line from your forearm through your knuckles. If you need a height adjustment, fix the chair and desk first. Do not bury your wrists in foam pads to cover a height mismatch. For specific carpal tunnel concerns, an ergonomic mouse guide for carpal tunnel helps.
- Arrange your desk essentials within the neutral reach zone.
The neutral reach zone is the semicircle you can touch with your elbows bent at your sides. Place the items you use most within that zone. That usually means phone, notepad, pen, and mouse. Items you use less often can sit outside that zone. Reaching repeatedly for the phone or a document holder forces your shoulder and spine out of alignment. It also disrupts the posture you set in earlier steps.
If you use a phone often, switch to a headset or speakerphone. Cradling a handset between your ear and shoulder is one of the worst positions for your cervical spine. A document holder placed between the keyboard and monitor can reduce neck flexing. If you alternate between paper and screen, keep the document at screen height. A desk mat can define your keyboard and mouse zone. Browse the best desk mats for ergonomic setups for a smooth, stable surface.
Consider a sit-stand option if your desk is not adjustable. A standing desk lets you change posture throughout the day. The best standing desks of 2026 include electric and manual choices. On a budget, a converter can sit on your existing desk. See the best standing desk converter options for smaller spaces. Stand for 10 to 15 minutes per hour when starting out. The goal is movement variety, not all-or-nothing standing.
- Set up lighting to reduce glare and shadows.
Eye strain is not only about screen distance. Glare from windows or overhead lights makes your eyes work harder. Position your monitor perpendicular to windows when possible. That means the window is to the side, not directly behind or in front of you. A window behind you creates glare on the screen. A window in front of you creates high contrast that strains your pupils. A desk lamp or monitor light bar can balance the brightness.
Use task lighting on the side opposite your dominant hand. This reduces shadows over your work. Aim the light at documents or the desk surface, not at the screen or your face. Adjustable color temperature helps in the evening. Warmer light after dark reduces blue light exposure, though the effect on eye strain is modest. For screen-specific relief, follow the routines in our eye strain relief guide.
The 20-20-20 rule is simple. Every 20 minutes, look at something 20 feet away for 20 seconds. That brief break lets your eye muscles relax. Set a timer if you forget. Blink rate also drops when you stare at a screen. Keep artificial tears nearby if your eyes feel dry. More light is not always better. Aim for overall room brightness similar to the screen brightness, so your eyes do not constantly adapt.
- Build movement breaks and retest your setup.
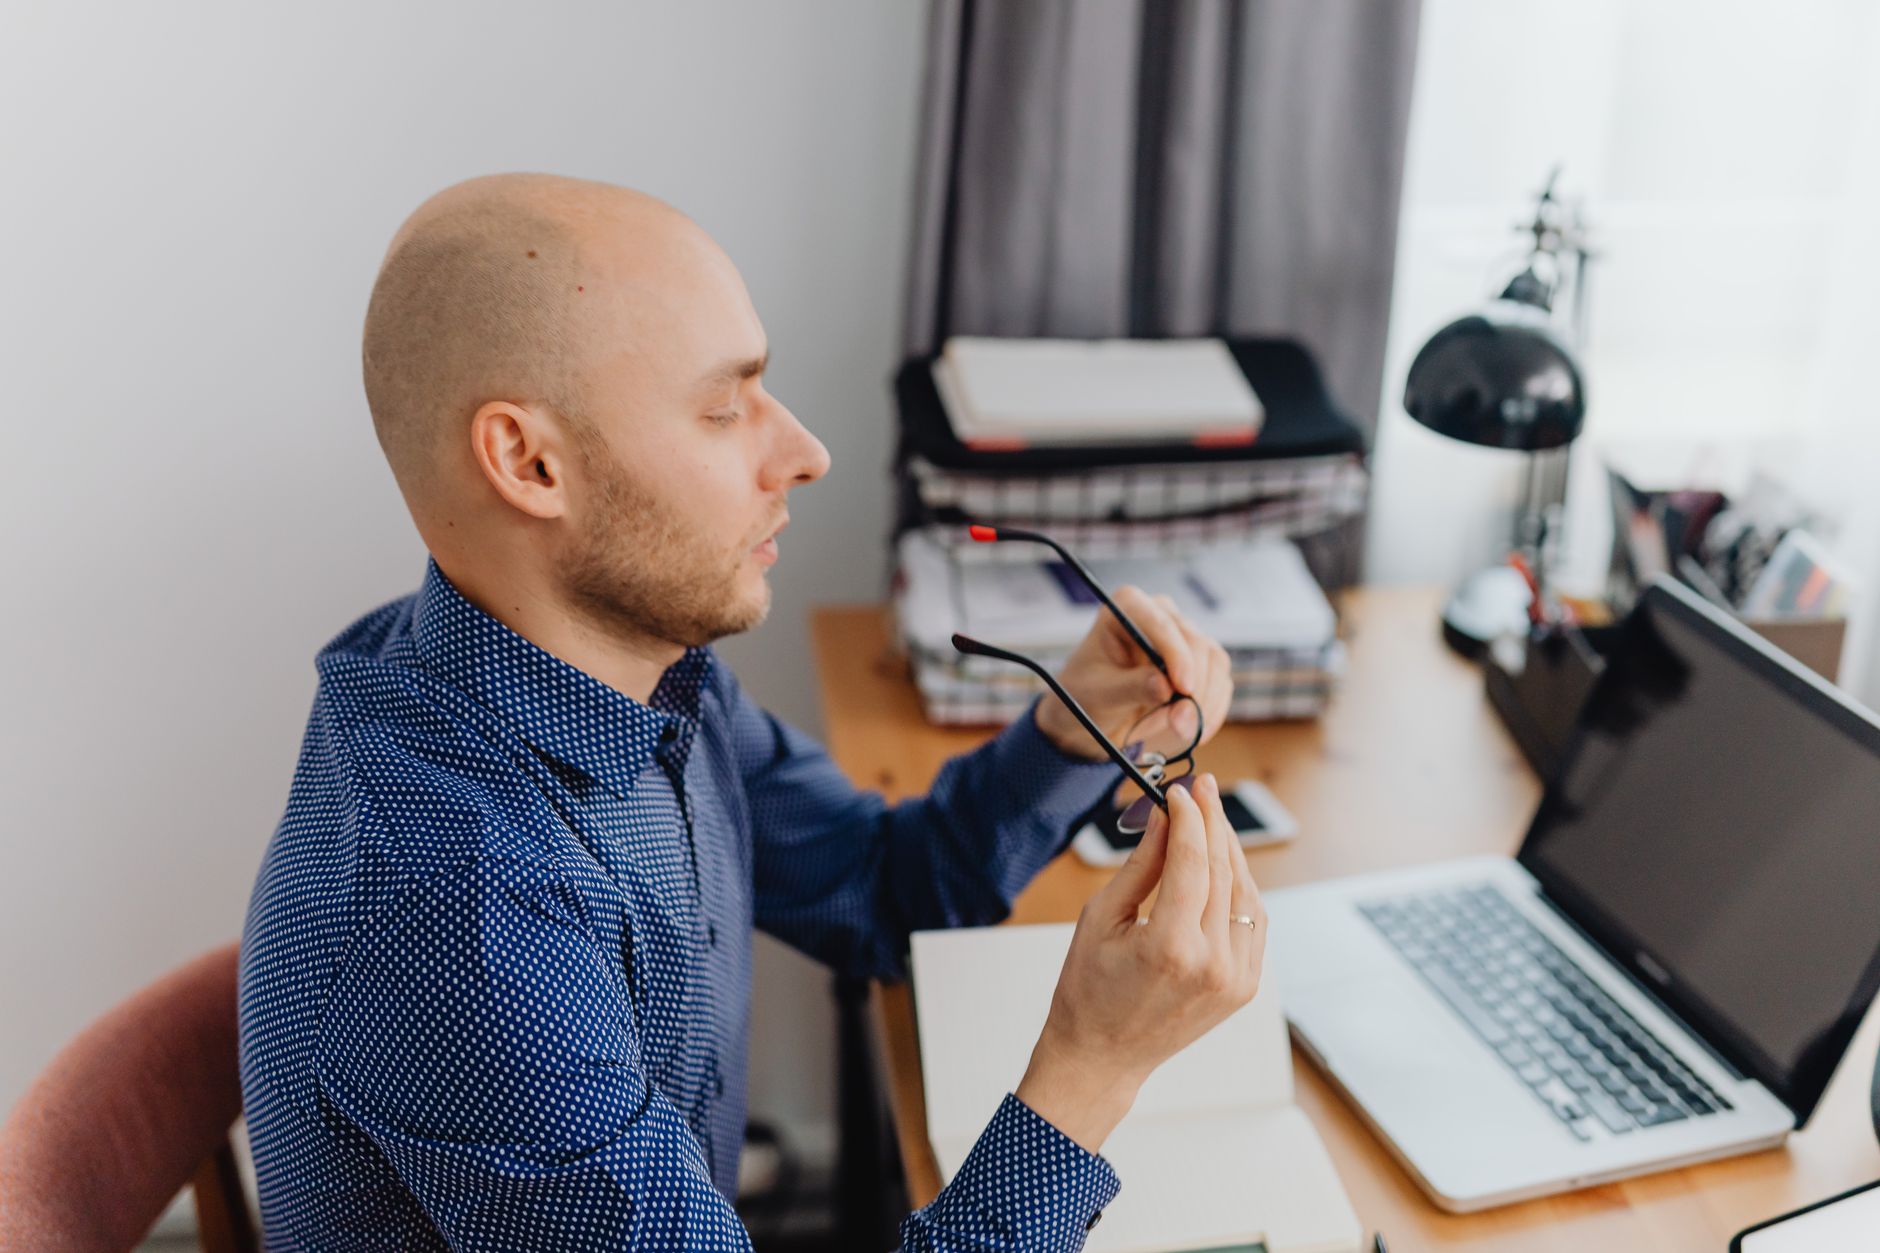
A perfect workstation still becomes a problem if you never leave it. Static sitting for more than 50 minutes reduces blood flow and stiffens joints. Take a 5 to 10 minute movement break every hour. Stand, walk, stretch your hips, and roll your shoulders. A break does not need to be structured exercise. It just needs to get you out of the seated posture. Frequent micro-breaks are a core part of injury prevention in workplace guidance.
After you have adjusted everything, stand up and sit back down. Look at your screen from your normal seated position. Check your wrists on the keyboard. Ask a partner to photograph you from the side. The image often reveals a head that juts forward or shoulders that creep up. You can also try setting up your standing desk correctly if you use a sit-stand desk. Make small changes one at a time so you know what helps.
Retest every month or whenever you change desks, chairs, or monitors. Shoes matter too. If you wear thick-soled shoes at the desk, your chair height may need a slight increase. A footrest may solve the rest. Keep a copy of this checklist nearby. You do not need a full ergonomic assessment to get 80 percent of the benefit. But if pain persists after two weeks, see a physical therapist or your doctor.
Red Flags & Warnings
- 🚨 Never put your monitor directly in front of a bright window. The glare forces you to squint and lean forward. Move the desk perpendicular to the window or use adjustable blinds.
- 🚨 Do not accept dangling feet. If your chair cannot go low enough, use a footrest, not a pile of books. Unstable supports cause leg tension and hip imbalance.
- 🚨 Avoid typing with a keyboard propped up on its rear feet. That tilt bends your wrists backward and increases carpal tunnel pressure. Keep the keyboard flat or tilting slightly away from you.
- 🚨 Watch for forward head posture. If you catch yourself leaning toward the screen, move the monitor closer or increase font size before buying a stronger chair.
- 🚨 Do not ignore screen height in a laptop setup. A laptop on a desk forces your neck down. Use a laptop stand and a separate keyboard to bring the screen to eye level.
- 🚨 Pain that wakes you at night, causes numbness, or lasts more than two weeks is not a workstation problem alone. Stop self-adjusting and see a medical professional.
Frequently Asked Questions
What is the correct chair height for an ergonomic workstation?
Your chair height is correct when both feet rest flat on the floor and your knees bend at about 90 to 110 degrees. Your thighs should be parallel to the floor. If your feet dangle, lower the chair or add a footrest.
How far should my monitor be from my eyes?
Place the monitor about 20 to 30 inches from your eyes, or roughly one arm’s length. The top of the screen should sit at or slightly below eye level. If you wear bifocals, set it 1 to 2 inches lower.
Should my keyboard be tilted up or flat?
Keep the keyboard flat or at a slight negative tilt, not propped up on rear feet. A negative tilt keeps your wrists straighter. A wrist rest may be used during pauses, but not while actively typing.
How often should I take breaks from sitting?
Take a 5 to 10 minute movement break every hour. Also follow the 20-20-20 rule for eyes. Every 20 minutes, look at something 20 feet away for 20 seconds. The goal is to interrupt static postures frequently.
Can I use a laptop as my main workstation?
You can, but a laptop on a desk usually puts the screen too low. Use a laptop stand to raise the top of the screen to eye level and connect a separate keyboard and mouse. Then follow the same chair and desk rules.
What is the best lighting for a home office?
Use a mix of natural side light and a task lamp placed opposite your dominant hand. Avoid overhead glare directly on the screen. Keep room brightness close to screen brightness to reduce eye adaptation strain.
What Should You Remember?
- Chair height first: Set seat height so feet are flat and knees bend near 90 degrees before touching the monitor.
- Monitor distance: Keep the screen 20 to 30 inches away with the top at or slightly below eye level.
- Neutral wrists: Place keyboard and mouse at elbow height and keep wrists flat, not bent upward.
- Lighting: Use side task lighting and reduce glare instead of adding more brightness.
- Movement: Take a 5 to 10 minute break every hour and use the 20-20-20 eye rule.
- Retest monthly: Small changes in chair, shoes, or desk height require a fresh check.
This article is for general information only and is not medical advice. Ergonomic guidance varies by body type and underlying conditions. Consult a physician or physical therapist for persistent pain before changing your workstation.